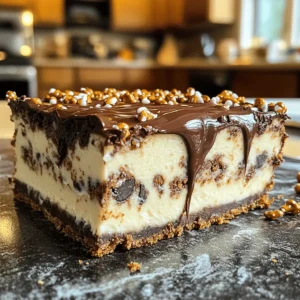
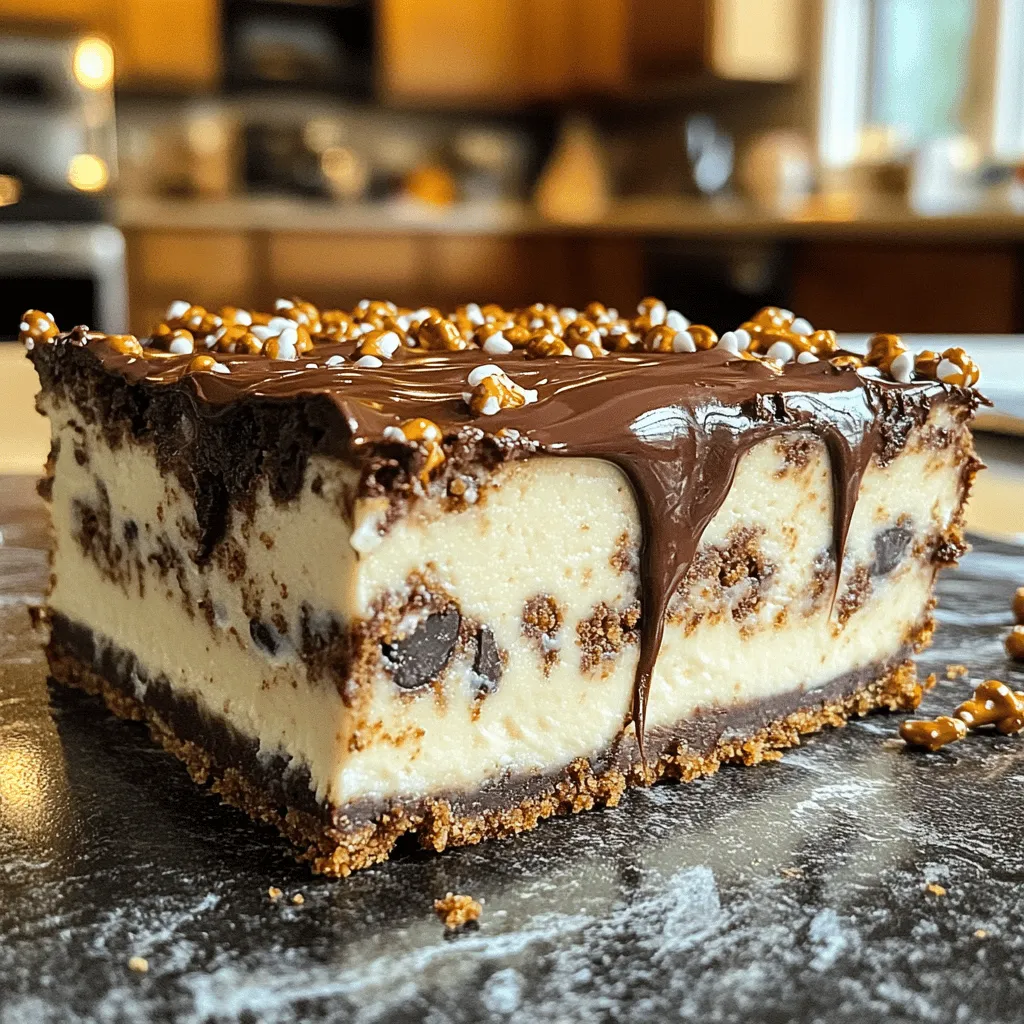
Are you ready to whip up a dessert that’s both fun and easy? Our Chocolate Pretzel Cheesecake Bars are a delightful no-bake treat that combines sweet and salty in every bite. Perfect for any occasion, these bars will impress your friends and family. From creamy cheesecake filling to a crunchy pretzel crust, you’ll learn all the best tips to create this indulgent snack. Let’s dive into the deliciousness!
Ingredients
Main Ingredients
To make Chocolate Pretzel Cheesecake Bars, you need a few core ingredients:
– 2 cups crushed pretzels
– 1/2 cup unsalted butter, melted
– 1/4 cup brown sugar
– 16 oz cream cheese, softened
– 1 cup granulated sugar
– 1 teaspoon vanilla extract
– 3 large eggs
– 1 cup semisweet chocolate chips
– 1/2 cup sour cream
– 1/4 cup heavy cream
These ingredients create a perfect blend of salty and sweet.
Substitutions
If you have dietary needs, here are some alternatives:
– Use gluten-free pretzels for a gluten-free option.
– Replace cream cheese with dairy-free cream cheese for a dairy-free treat.
– Use coconut cream instead of heavy cream for a lighter option.
These substitutions help everyone enjoy this dessert.
Quality Tips
Selecting high-quality ingredients makes a big difference. Here are my tips:
– Choose full-fat cream cheese for creaminess.
– Look for high-quality semisweet chocolate chips. They should have a rich flavor.
– Use real vanilla extract instead of imitation for better taste.
Investing in good ingredients elevates your bars.
Step-by-Step Instructions
Preparation Steps
1. Preheat your oven to 325°F (160°C). This temperature is key for perfect baking.
2. Grease a 9×13-inch baking dish or use parchment paper. This helps with easy removal later.
3. In a medium bowl, mix 2 cups of crushed pretzels, 1/2 cup melted butter, and 1/4 cup brown sugar. Combine until it looks like wet sand.
4. Press this mixture firmly into the bottom of your prepared dish. Make sure it’s even.
5. Bake the crust for 8 minutes. This gives it a nice crisp. Remove it from the oven and let it cool slightly.
Cheesecake Batter Creation
1. In a large mixing bowl, beat 16 oz of softened cream cheese with an electric mixer. Mix until it is smooth.
2. Gradually add 1 cup of granulated sugar while beating. This makes the mixture creamy.
3. Mix in 1 teaspoon of vanilla extract for flavor.
4. Now, add 3 large eggs, one at a time. Beat well after each egg until fully mixed.
5. Melt 1 cup of semisweet chocolate chips and 1/4 cup of heavy cream together. You can do this in the microwave or over a double boiler until smooth.
6. Let the melted mix cool slightly. Then, mix it into the cheesecake batter. Add 1/2 cup of sour cream and stir until smooth.
Baking and Cooling
1. Pour the cheesecake batter over your cooled pretzel crust. Spread it evenly with a spatula.
2. Tap the pan gently on the counter. This helps remove any trapped air bubbles.
3. Bake in your preheated oven for about 35-40 minutes. The center should be set but still a bit jiggly.
4. After baking, turn off the oven. Leave the cheesecake inside for 30 minutes. This allows for gentle cooling.
5. Remove the cheesecake from the oven. Let it cool completely at room temperature.
6. Once cooled, refrigerate for at least 4 hours, or overnight is best. This helps set the cheesecake perfectly.
Tips & Tricks
Common Mistakes to Avoid
When making Chocolate Pretzel Cheesecake Bars, avoid these common mistakes:
– Not cooling the crust: If you skip cooling the crust, the cheesecake can get too warm. This makes it hard to set.
– Overmixing the batter: Mixing too much can add extra air. This may cause cracks in your bars.
– Not tapping the pan: Failing to tap the pan can leave air bubbles. These bubbles can ruin the smooth texture.
To prevent these issues, let the crust cool completely and mix just until smooth.
Success Tips
To make your bars even better, consider these tips:
– Use room temperature ingredients: Make sure your cream cheese and eggs are at room temp. This helps create a smooth batter.
– Melt chocolate carefully: If the chocolate gets too hot, it can seize. Melt slowly using a microwave or a double boiler.
– Add a pinch of salt: A small pinch of salt can enhance the sweet flavor. It balances the taste perfectly.
These simple steps can greatly improve both texture and flavor.
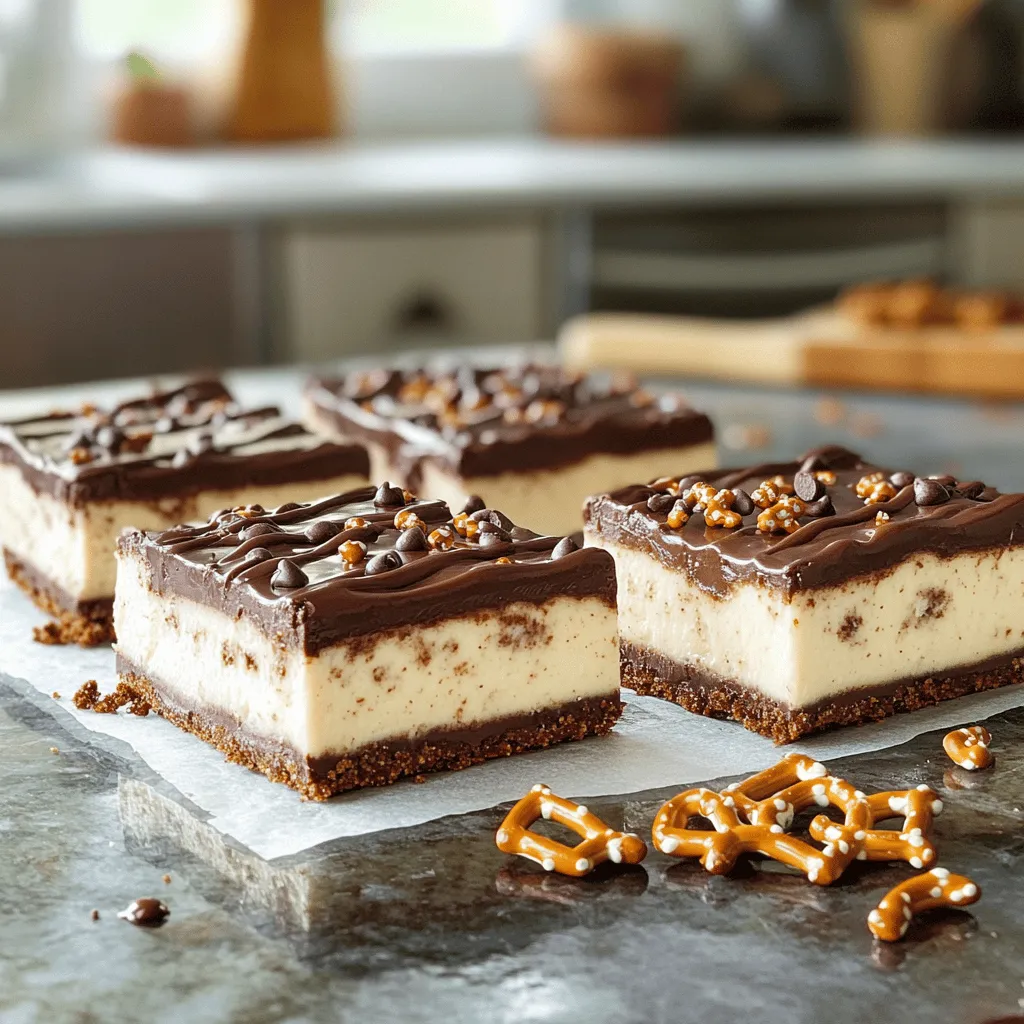
Presentation Ideas
For a beautiful finish, try these presentation ideas:
– Drizzle with chocolate sauce: A quick drizzle adds a nice touch. It looks fancy and tastes great.
– Sprinkle crushed pretzels on top: This adds crunch and visual appeal. It ties back to the pretzel crust.
– Serve with whipped cream: A dollop of whipped cream can elevate the dish. It adds creaminess and makes it feel special.
These ideas make your bars not only tasty but also visually stunning.
Variations
Flavor Variations
You can easily change the flavor of your cheesecake bars. Want a sweeter touch? Add caramel to the batter. Just melt some caramel and swirl it in before baking. For a nutty taste, mix in peanut butter. It pairs great with chocolate! Another fun idea is to add a hint of espresso powder. This will enhance the chocolate flavor and give you a rich taste.
Topping Ideas
Toppings can make your bars even better. You can sprinkle crushed nuts on top. Almonds or walnuts work well. Fresh fruits like strawberries or raspberries add color and taste. If you like sauces, drizzle chocolate or caramel sauce over each bar. Whipped cream is also a nice, fluffy option for serving. Get creative and mix and match your favorites!
Crust Alternatives
While pretzels make a great crust, you can try other options too. Graham cracker crumbs create a sweet base. You could also use crushed cookies like Oreos for a richer flavor. If you want a nutty crust, ground almonds or pecans are tasty choices. Just remember to mix them with butter and sugar for the best texture.
Storage Info
How to Store
To keep your chocolate pretzel cheesecake bars fresh, wrap them well. I like to use plastic wrap or aluminum foil. Place them in an airtight container. This way, they stay moist and tasty. Always store them in the fridge. Avoid leaving them out too long to keep them safe to eat.
Freezing Tips
If you want to save some bars for later, freezing works great. First, cut the bars into squares. Then, wrap each square tightly in plastic wrap. Place the wrapped bars in a freezer-safe bag. Be sure to label the bag with the date. They can last up to three months in the freezer. To enjoy, just take out a bar and let it thaw in the fridge overnight.
Shelf Life
At room temperature, these bars can last for about two hours. If it is warm, it’s best to keep them cold. In the fridge, they are good for about five days. Just make sure to keep them covered to avoid drying out. Enjoying them within this time ensures they taste their best!
FAQs
Can I make these bars ahead of time?
Yes, you can make these bars ahead of time. I often prepare them a day before. This lets the flavors meld and the texture set nicely. After baking, cool them completely, then chill in the fridge. Cover them well to keep them fresh. When it’s time to serve, they will taste even better!
What can I use instead of cream cheese?
If you want a dairy-free option, try using vegan cream cheese. Brands like Tofutti and Kite Hill work well. You can also use silken tofu blended until smooth. This will give a creamy texture, too. Another option is cashew cream, made from soaked cashews and blended with a bit of lemon juice.
How can I tell when the cheesecake bars are done baking?
To check if the bars are done, look for the center to be set but still jiggly. It should not look wet or runny. After baking, turn off the oven and leave them inside for 30 minutes. This helps them finish cooking gently. Then cool at room temperature before chilling.
You learned how to make Chocolate Pretzel Cheesecake Bars step by step. We discussed the key ingredients and substitutions for different diets. Quality tips helped you choose the best items. I shared common mistakes and success tips to make sure your bars shine. You also found fun ways to add flavors and toppings. Finally, I covered storage and freezing methods to keep your bars fresh. Enjoy making these treats, and impress everyone with your skills!