FREE DINNER EBOOK!
Get your copy!
Cookie Policy
GDPR Policy
Disclaimer
Terms Of Use
Visit my other site:
Fun Cookie Recipes
Home
Dinner
Desserts
Drinks
Appetizers
Contact
About
Privacy Policy
Home
Dinner
Desserts
Drinks
Appetizers
Contact
About
Privacy Policy
Cookie Policy
GDPR Policy
Disclaimer
Terms Of Use
Visit my other site:
Fun Cookie Recipes
HOME / CATEGORIES /
Latest
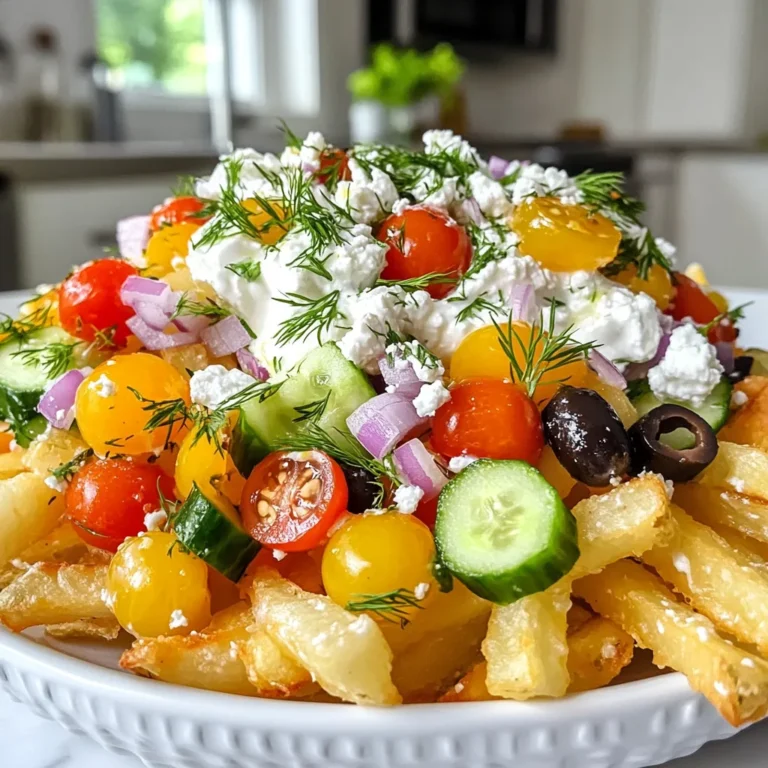
Greek Loaded Fries Tasty and Flavorful Recipe
Pumpkin Cream Cheese Muffins Delightful and Easy Recipe
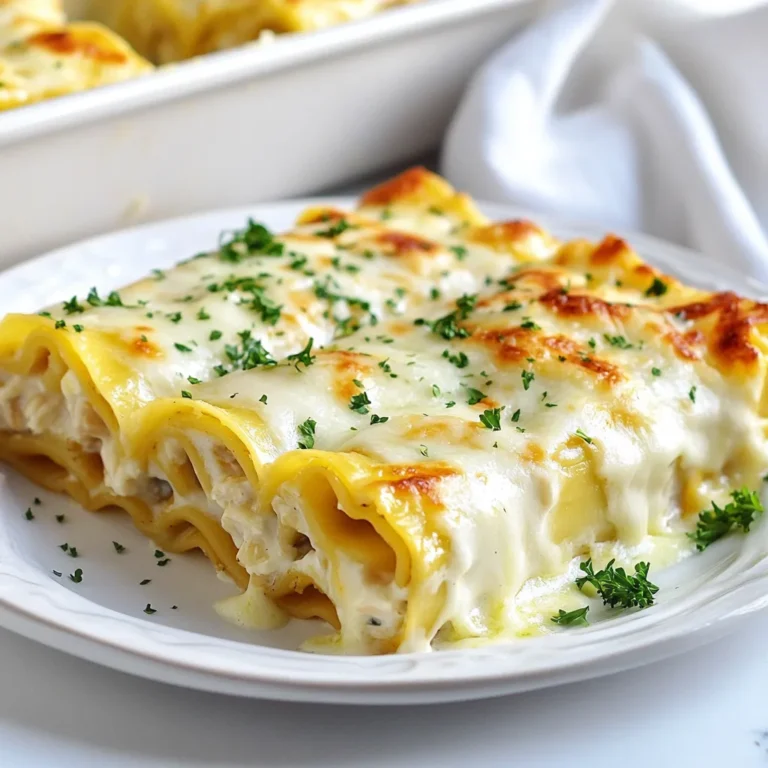
Chicken Alfredo Lasagna Roll Ups Flavorful Dinner Idea
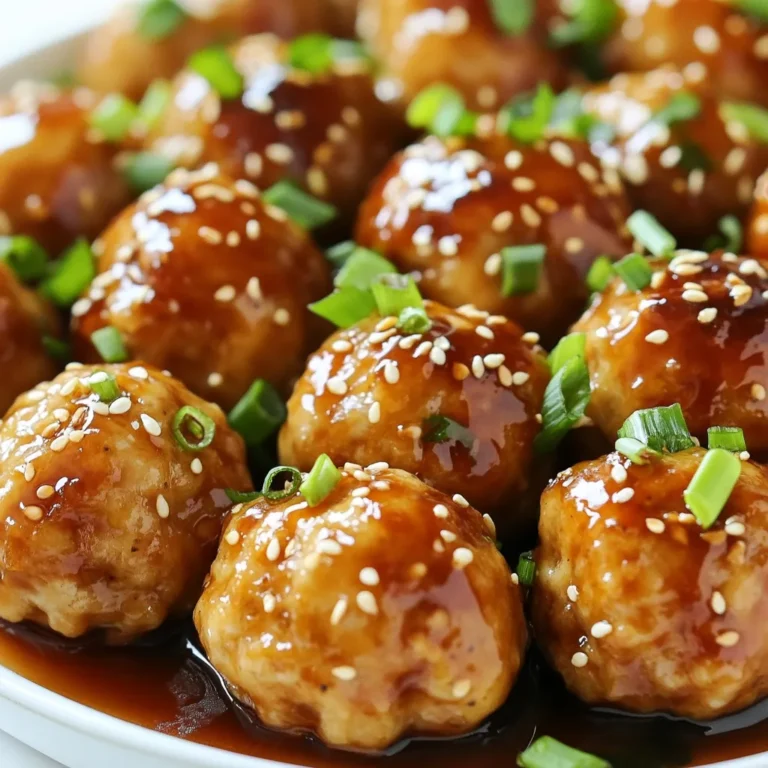
Teriyaki Chicken Meatballs Flavorful and Easy Recipe
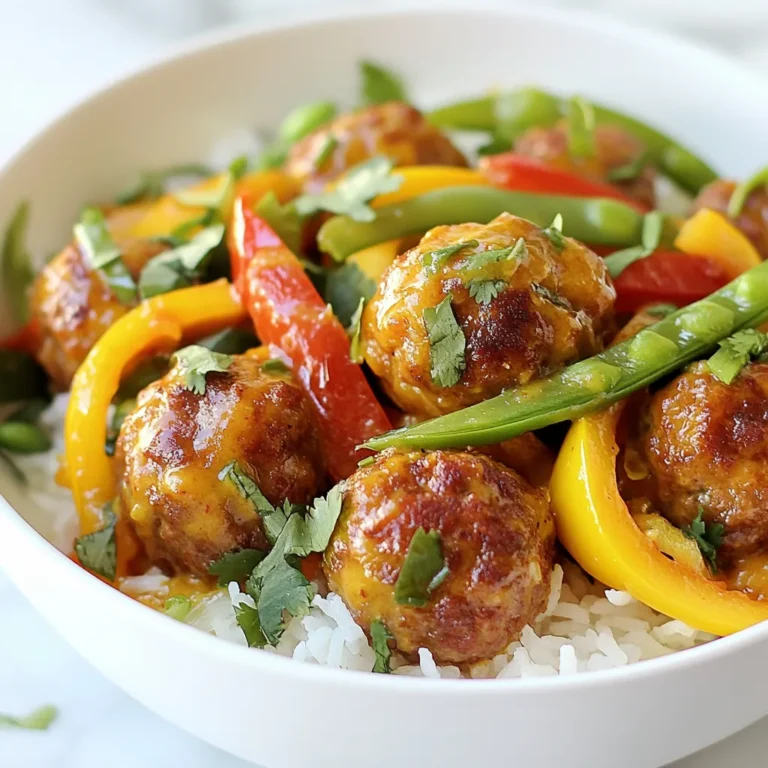
Thai Red Curry Meatballs Flavorful and Easy Recipe
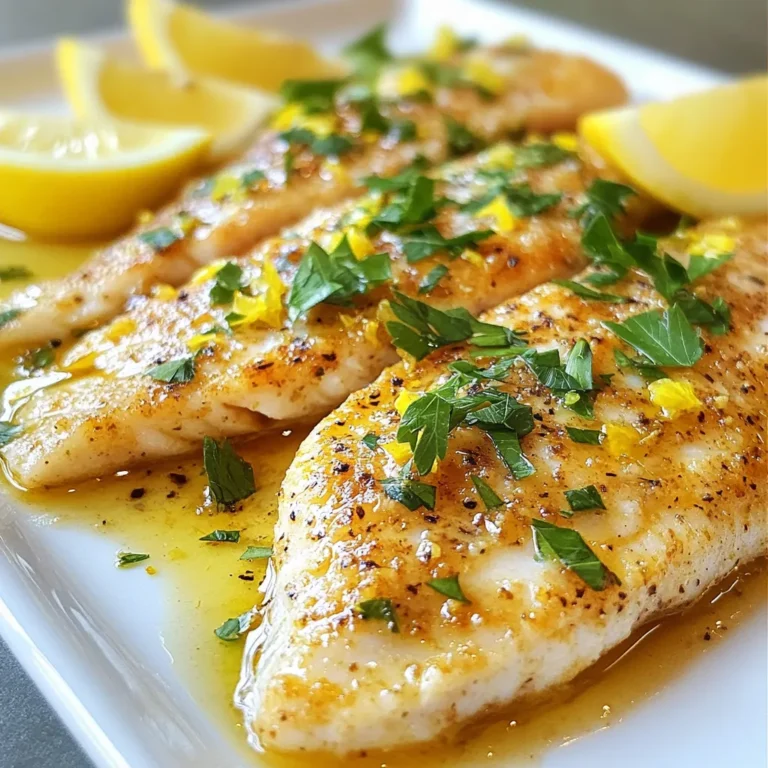
Lemon Pepper Tilapia Flavorful and Easy Recipe
Vanilla Bean Panna Cotta with Berries Delight
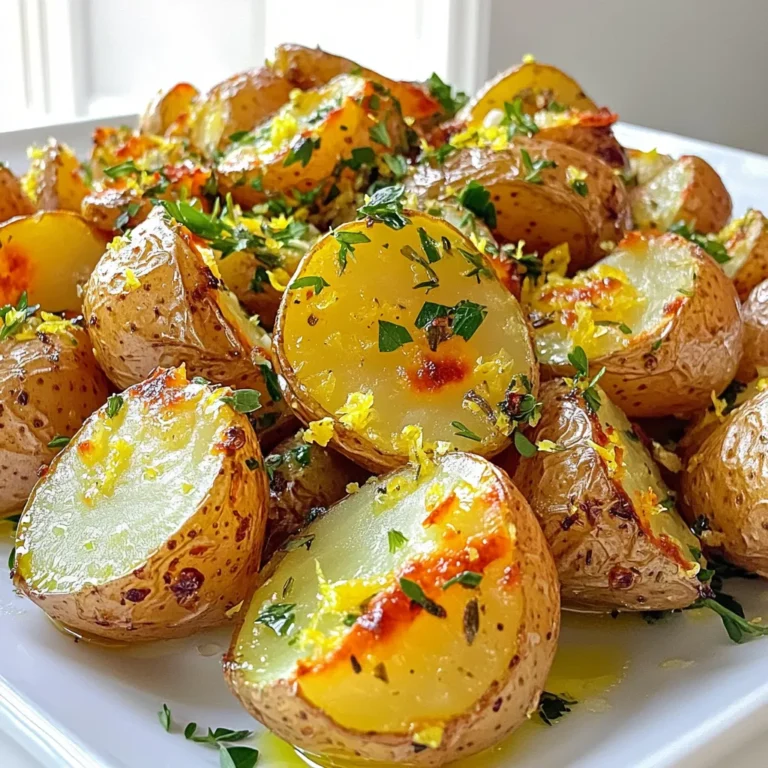
Lemon Herb Roasted Potatoes Crispy and Flavorful Dish
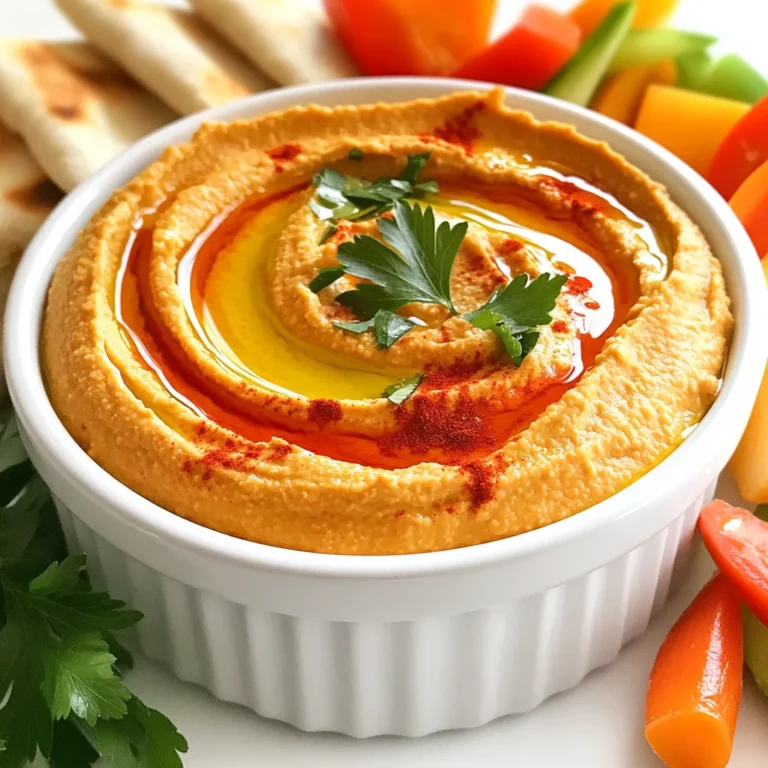
Roasted Red Pepper Hummus Flavorful and Simple Dip
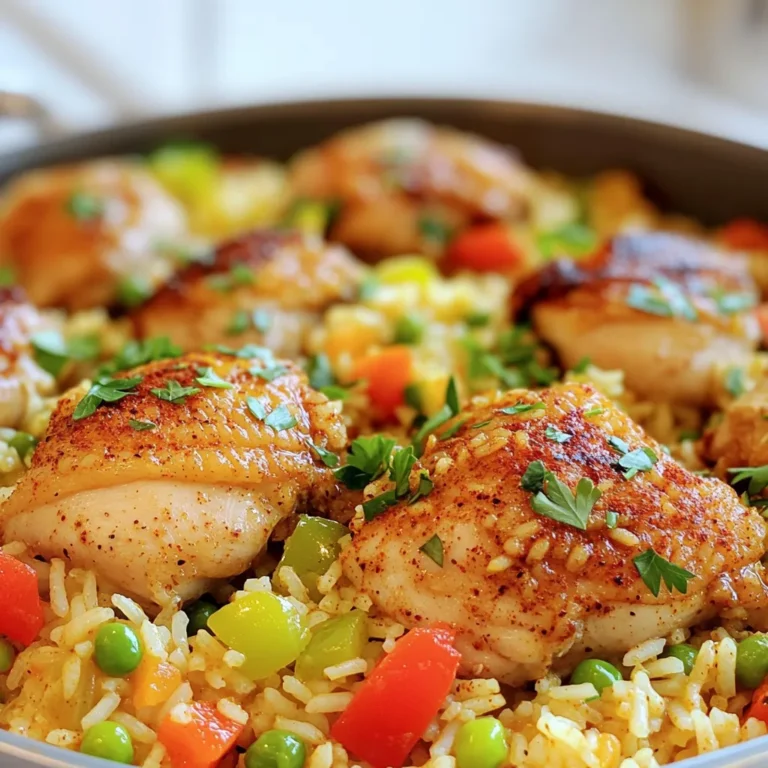
Cajun Chicken and Rice Skillet Flavorful Dinner Delight
1
2
…
57
NEXT