FREE DINNER EBOOK!
Get your copy!
Cookie Policy
GDPR Policy
Disclaimer
Terms Of Use
Visit my other site:
Fun Cookie Recipes
Home
Dinner
Desserts
Drinks
Appetizers
Contact
About
Privacy Policy
Home
Dinner
Desserts
Drinks
Appetizers
Contact
About
Privacy Policy
Cookie Policy
GDPR Policy
Disclaimer
Terms Of Use
Visit my other site:
Fun Cookie Recipes
HOME / CATEGORIES /
Latest
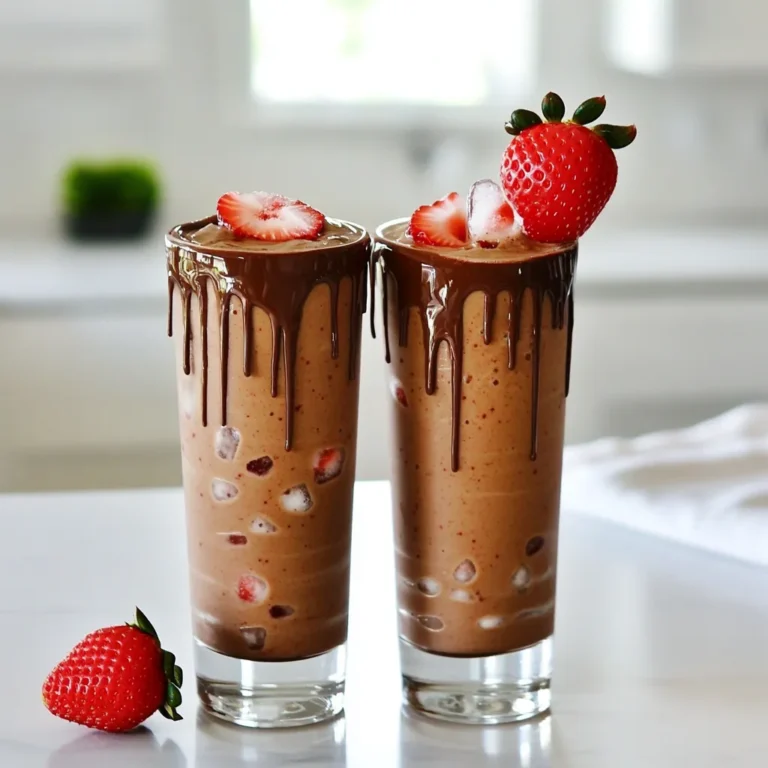
Chocolate Covered Strawberry Smoothie Delightful Treat
Easy Veggie Pad Thai Simple and Tasty Meal Idea
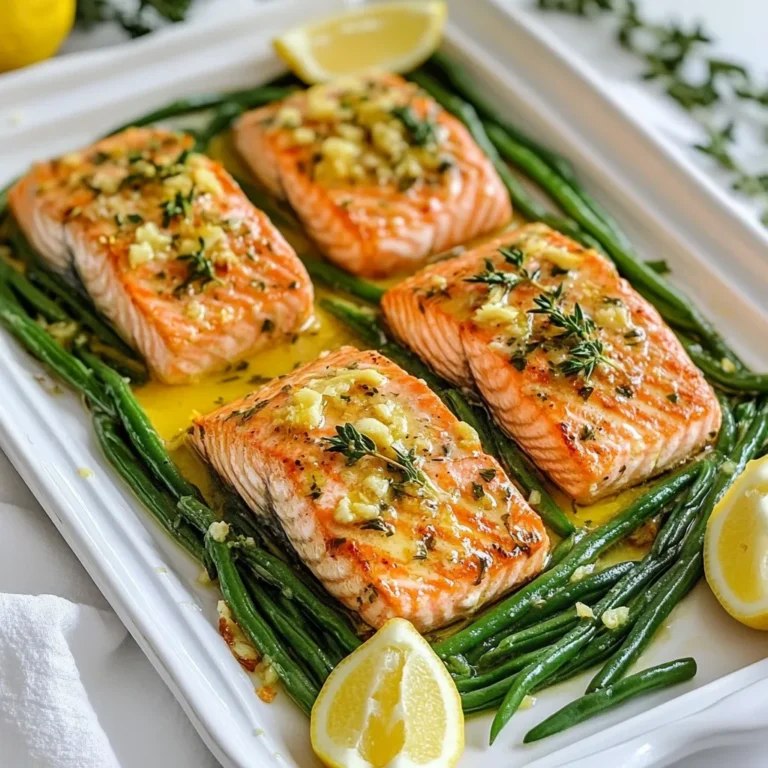
Garlic Butter Salmon and Green Beans Easy Recipe
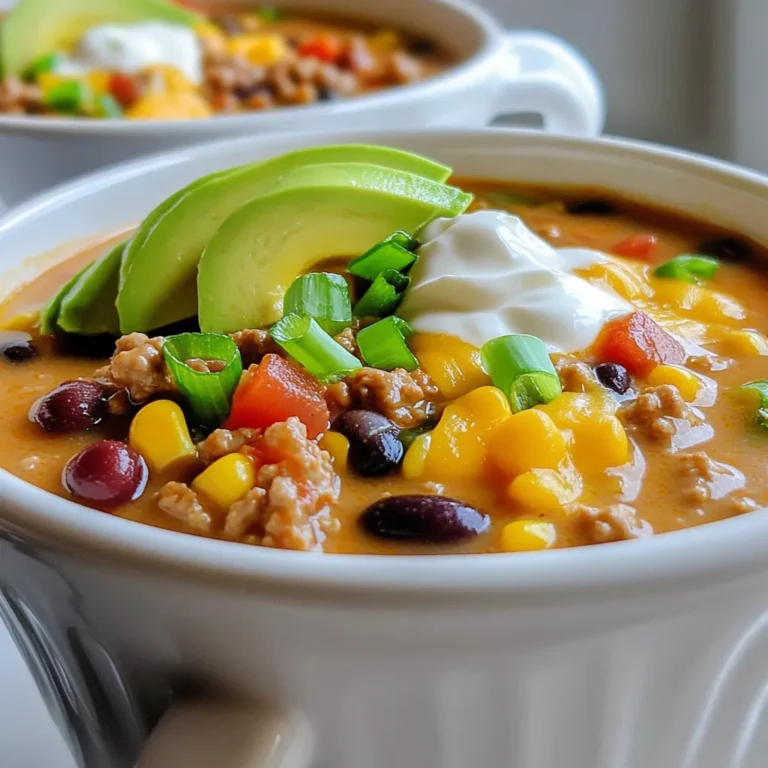
Slow Cooker Creamy Taco Soup Simple Flavorful Meal
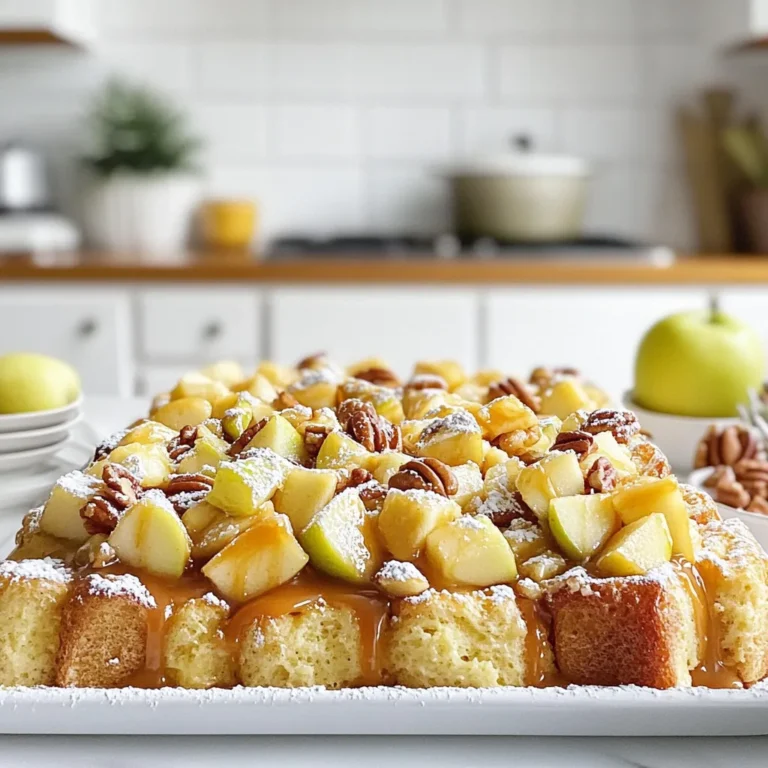
Caramel Apple French Toast Casserole Delightfully Easy
No Bake Cookie Dough Protein Bites for Healthy Snacking
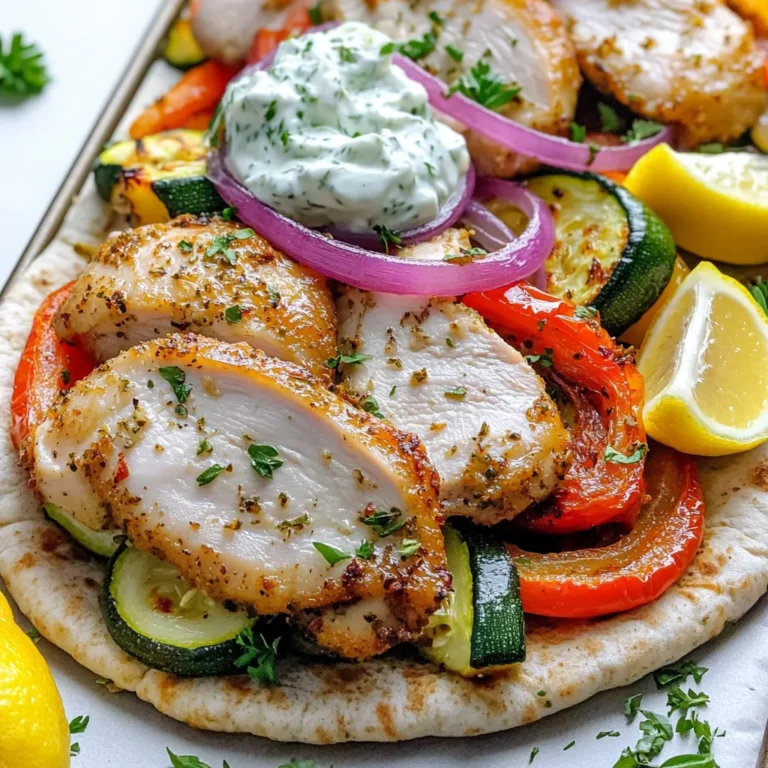
Sheet Pan Greek Chicken Gyros Flavorful Easy Meal
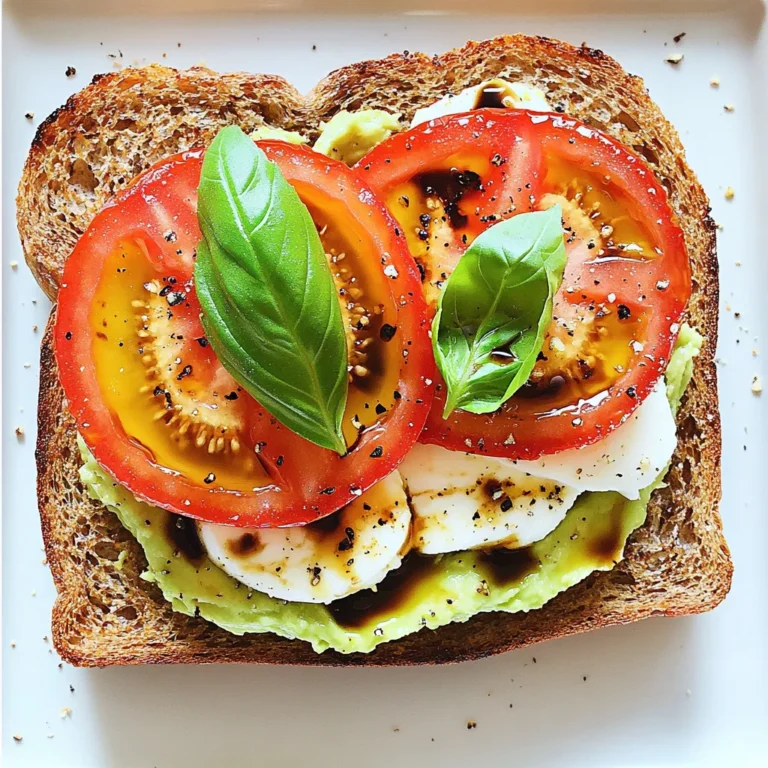
Minute Caprese Avocado Toast Fast and Tasty Meal
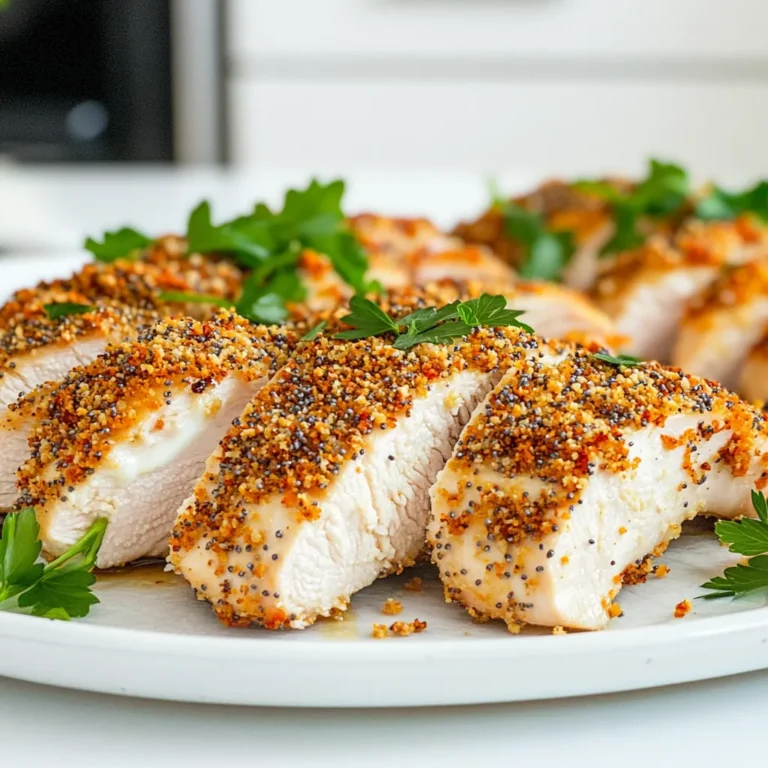
Air Fryer Everything Bagel Chicken Crispy Delight
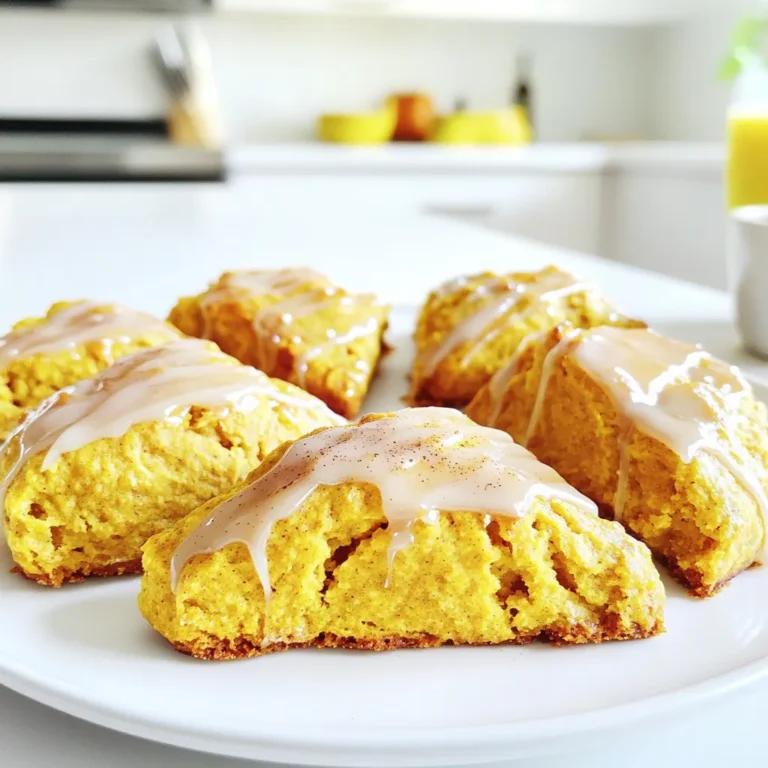
Maple Glazed Pumpkin Scones Irresistible Autumn Treat
PREV
1
2
3
…
57
NEXT