FREE DINNER EBOOK!
Get your copy!
Cookie Policy
GDPR Policy
Disclaimer
Terms Of Use
Visit my other site:
Fun Cookie Recipes
Home
Dinner
Desserts
Drinks
Appetizers
Contact
About
Privacy Policy
Home
Dinner
Desserts
Drinks
Appetizers
Contact
About
Privacy Policy
Cookie Policy
GDPR Policy
Disclaimer
Terms Of Use
Visit my other site:
Fun Cookie Recipes
HOME / CATEGORIES /
Latest
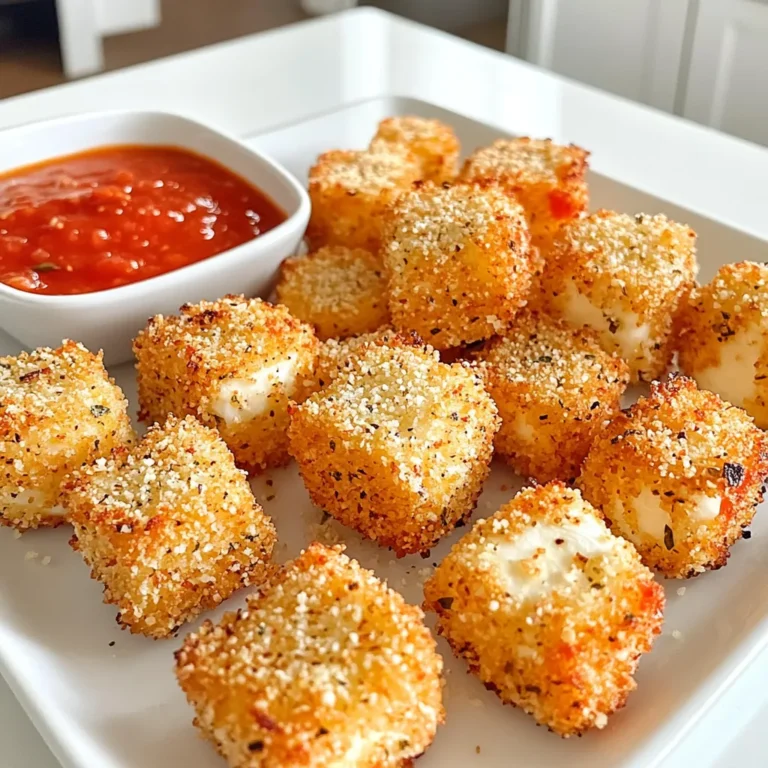
Air Fryer Mozzarella Bites Crispy and Flavorful Snack
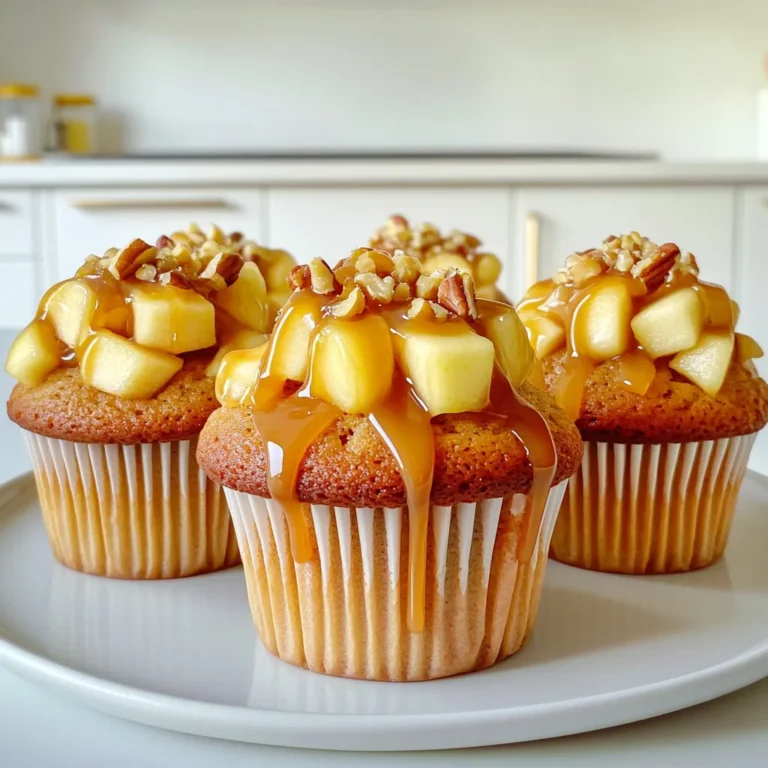
Caramel Apple Cupcakes Delightful Fall Treat
No-Bake Pumpkin Cookie Dough Truffles Delightful Treat
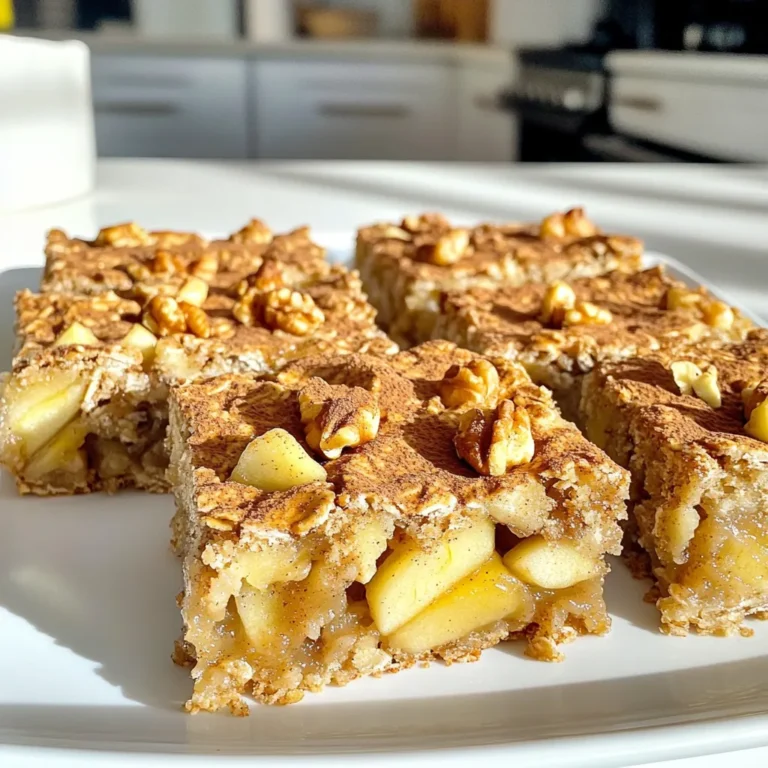
Savory Apple Cinnamon Oatmeal Bars Easy and Healthy Recipe
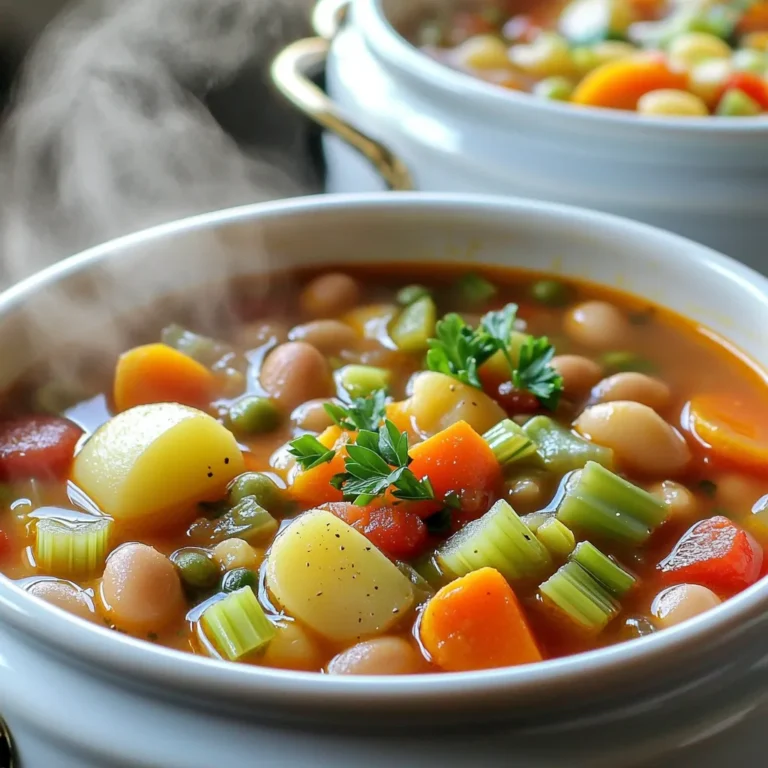
Satisfying Slow Cooker Minestrone Beans Recipe
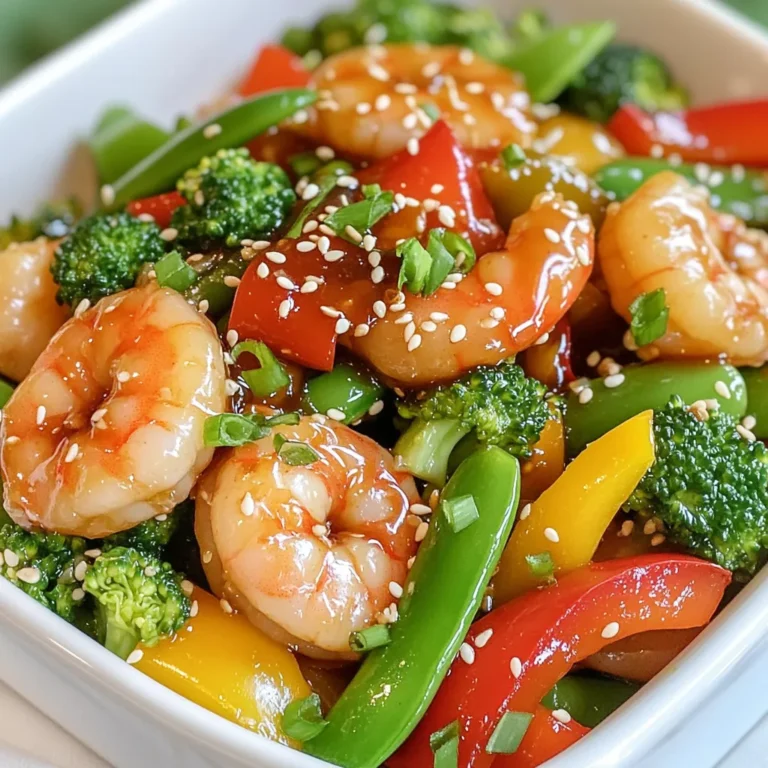
Honey Garlic Shrimp Stir Fry Savory and Quick Meal
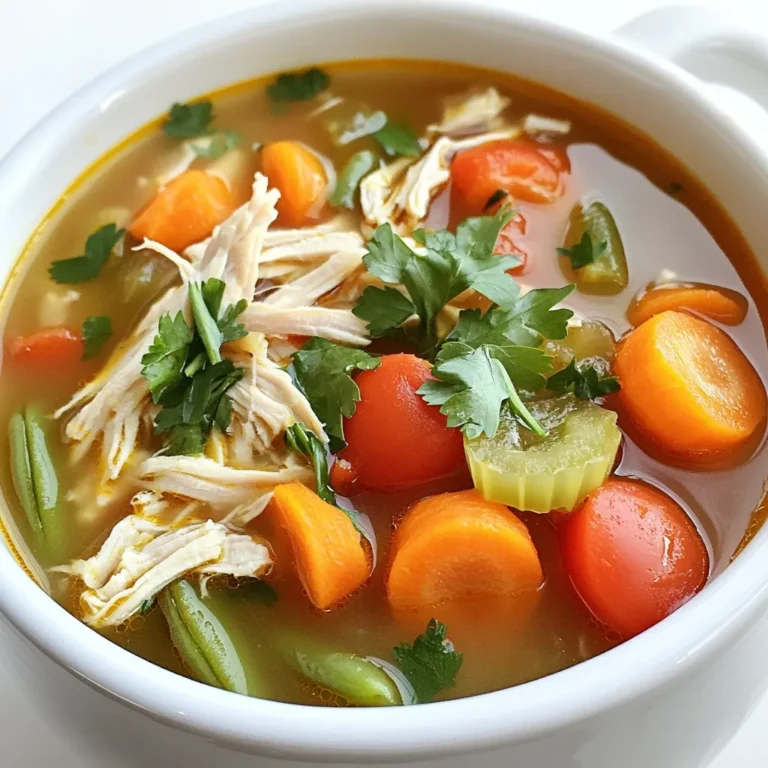
Hearty Chicken Vegetable Soup Comfort in a Bowl
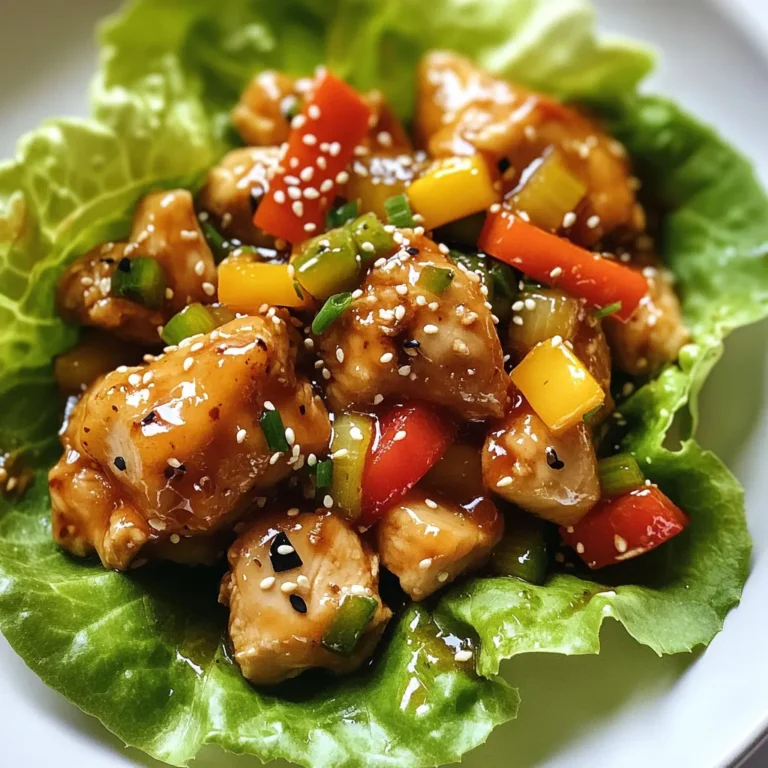
Teriyaki Chicken Lettuce Wraps Flavorful and Easy Meal
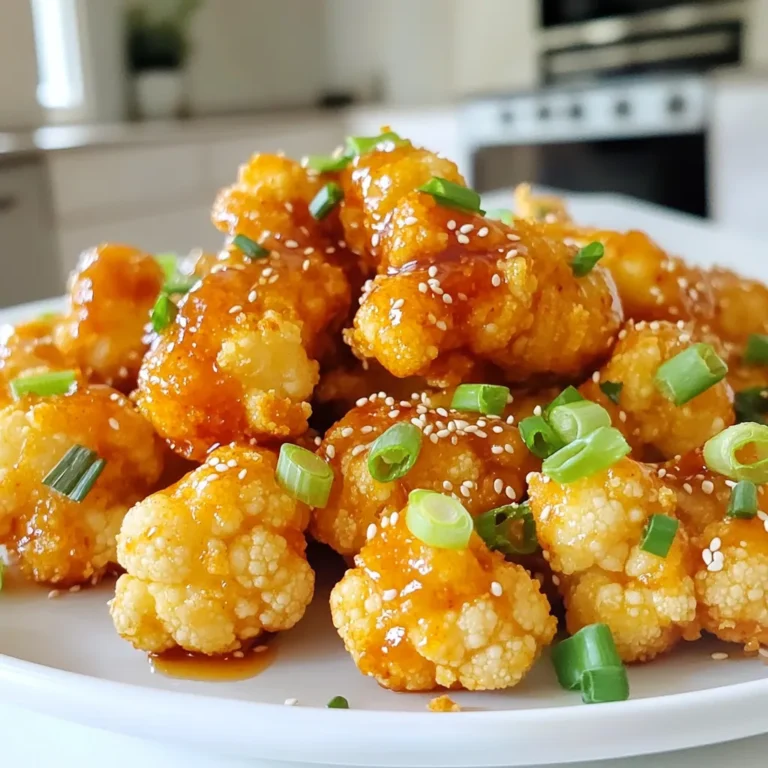
Spicy Honey Garlic Cauliflower Wings Crunchy Delight
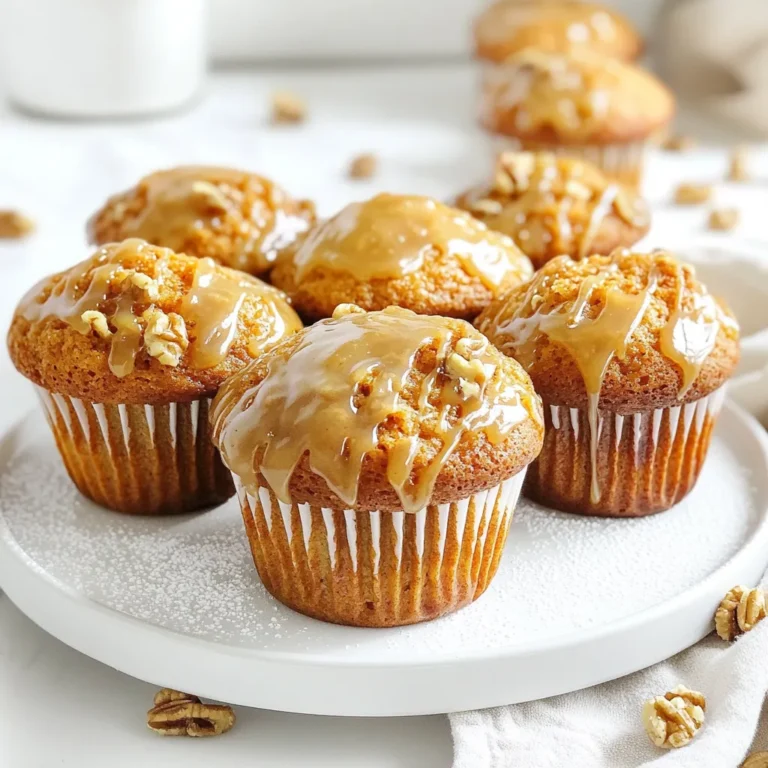
Maple Glazed Carrot Cake Muffins Delightful Treat
PREV
1
…
3
4
5
…
57
NEXT