FREE DINNER EBOOK!
Get your copy!
Cookie Policy
GDPR Policy
Disclaimer
Terms Of Use
Visit my other site:
Fun Cookie Recipes
Home
Dinner
Desserts
Drinks
Appetizers
Contact
About
Privacy Policy
Home
Dinner
Desserts
Drinks
Appetizers
Contact
About
Privacy Policy
Cookie Policy
GDPR Policy
Disclaimer
Terms Of Use
Visit my other site:
Fun Cookie Recipes
HOME / CATEGORIES /
Latest
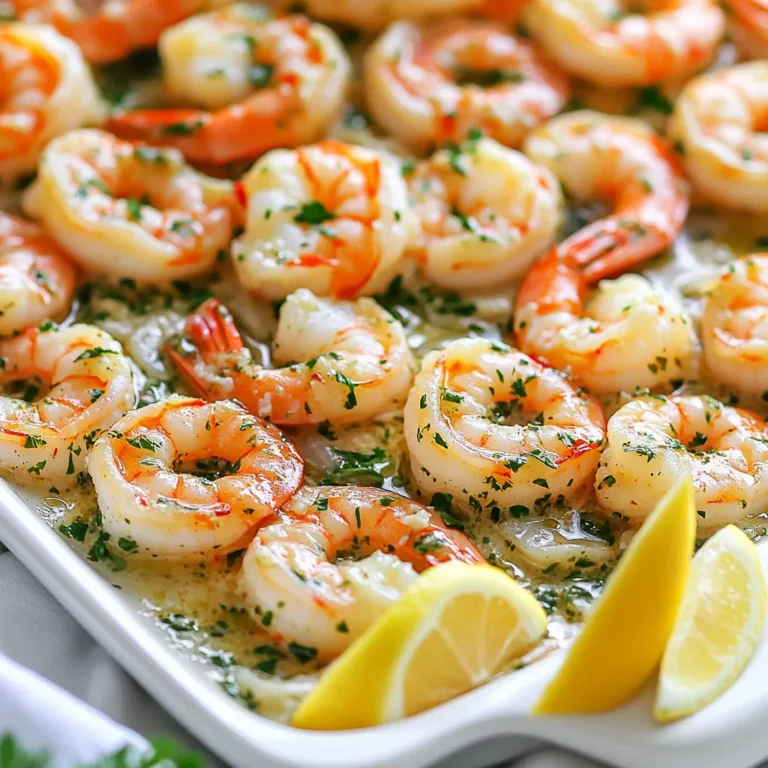
Sheet-Pan Garlic Herb Shrimp Scampi Delight
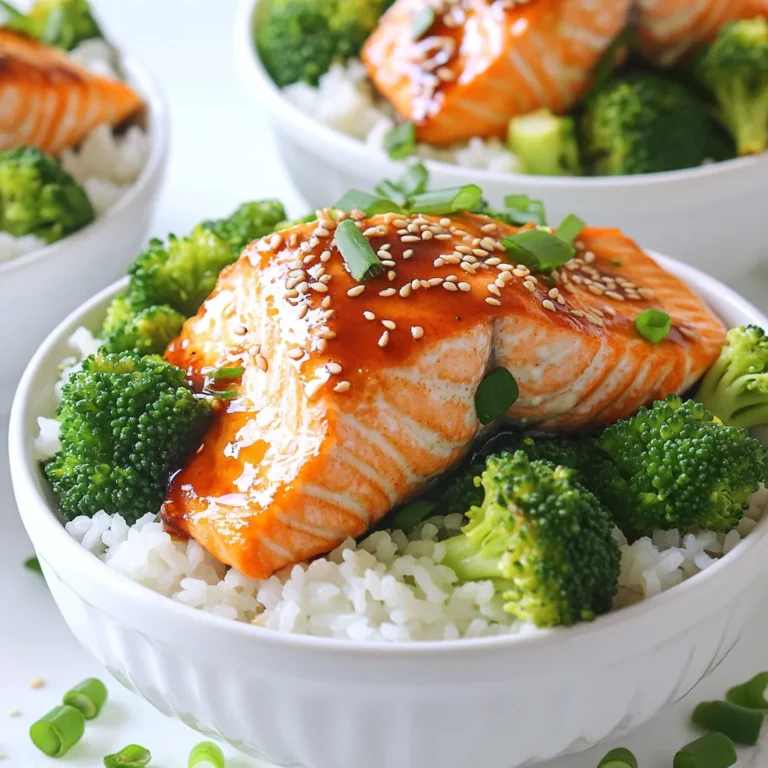
Instant Pot Teriyaki Salmon Rice Bowls Flavorful Treat
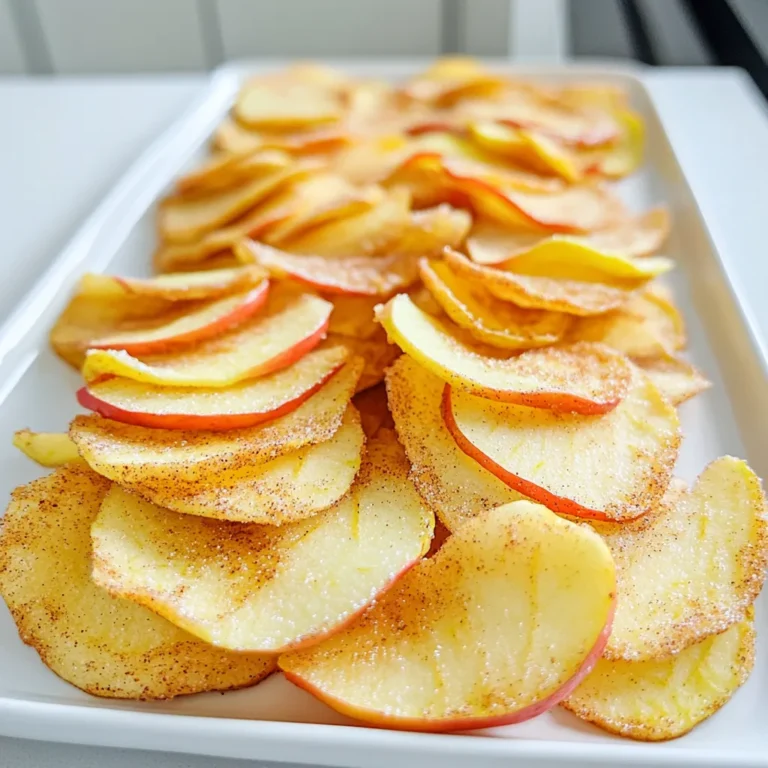
Air Fryer Cinnamon Sugar Apple Chips Crunchy Delight
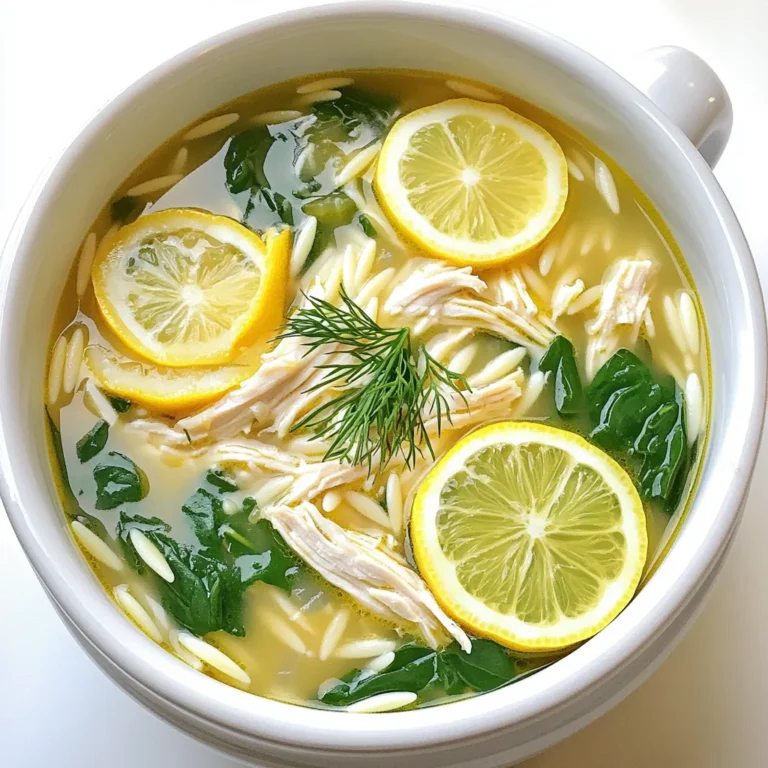
Slow Cooker Creamy Greek Lemon Chicken Soup Delight
No-Bake Chocolate Hazelnut Energy Bars Delight
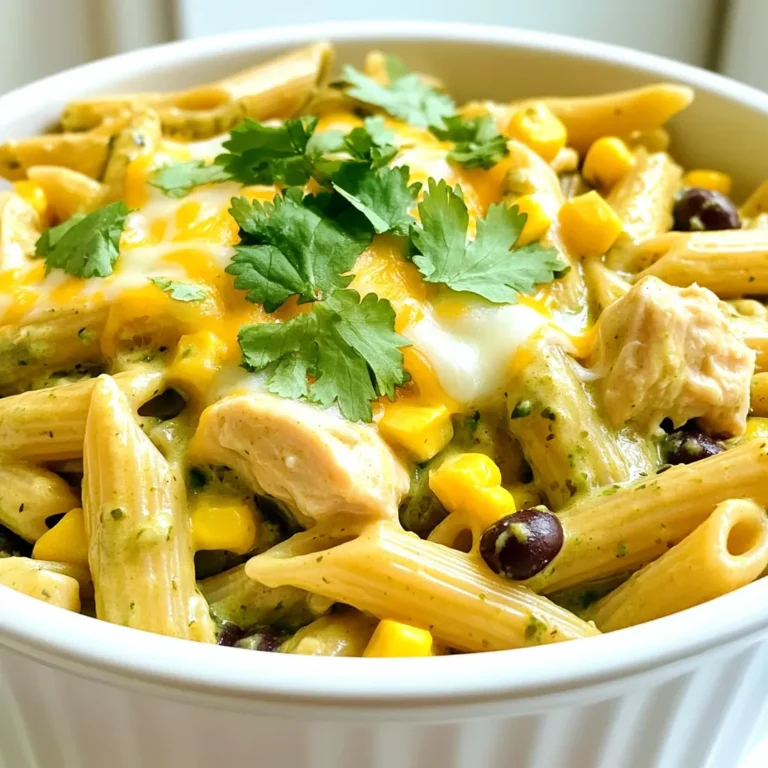
One-Pot Creamy Salsa Verde Chicken Pasta Delight
Cozy Maple Pecan Pumpkin Oatmeal Delightful Recipe
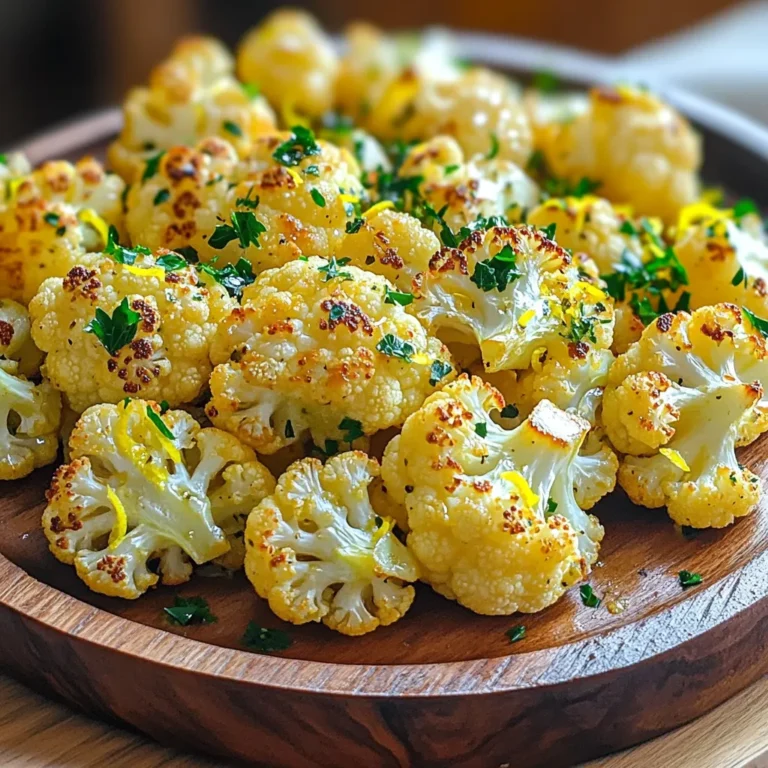
Lemon Garlic Roasted Cauliflower Flavorful Side Dish
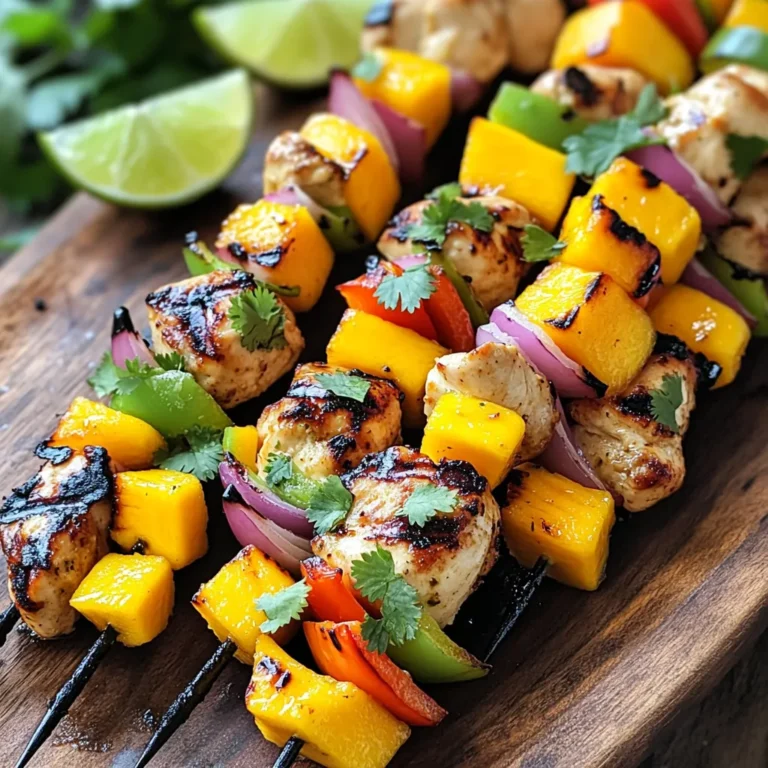
Mango Lime Grilled Chicken Skewers Easy Recipe
Peanut Butter Chocolate Protein Balls Easy Healthy Snack
PREV
1
…
7
8
9
…
57
NEXT