FREE DINNER EBOOK!
Get your copy!
Cookie Policy
GDPR Policy
Disclaimer
Terms Of Use
Visit my other site:
Fun Cookie Recipes
Home
Dinner
Desserts
Drinks
Appetizers
Contact
About
Privacy Policy
Home
Dinner
Desserts
Drinks
Appetizers
Contact
About
Privacy Policy
Cookie Policy
GDPR Policy
Disclaimer
Terms Of Use
Visit my other site:
Fun Cookie Recipes
HOME / CATEGORIES /
Latest
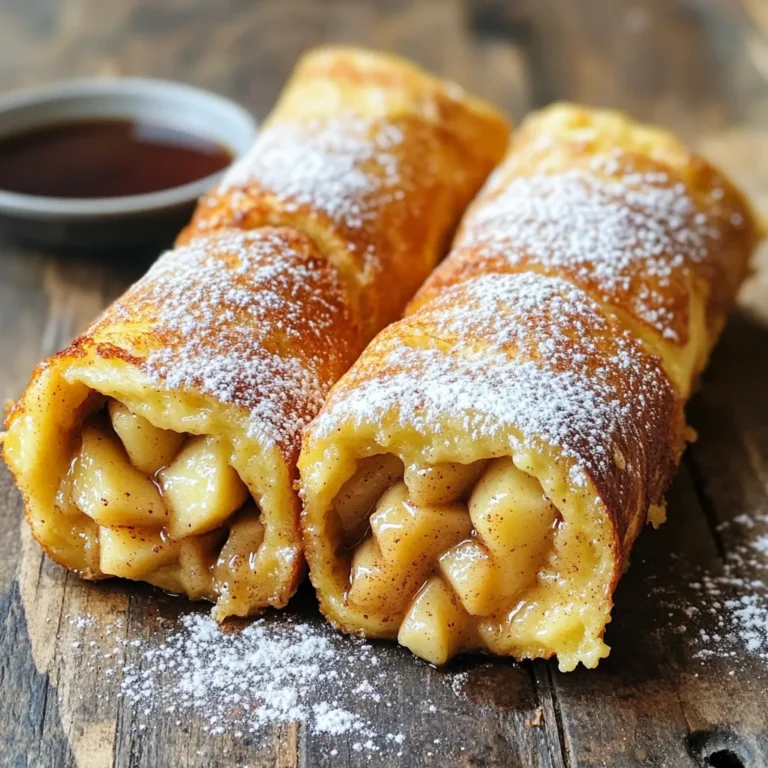
Cinnamon Apple French Toast Roll Ups Deliciously Simple
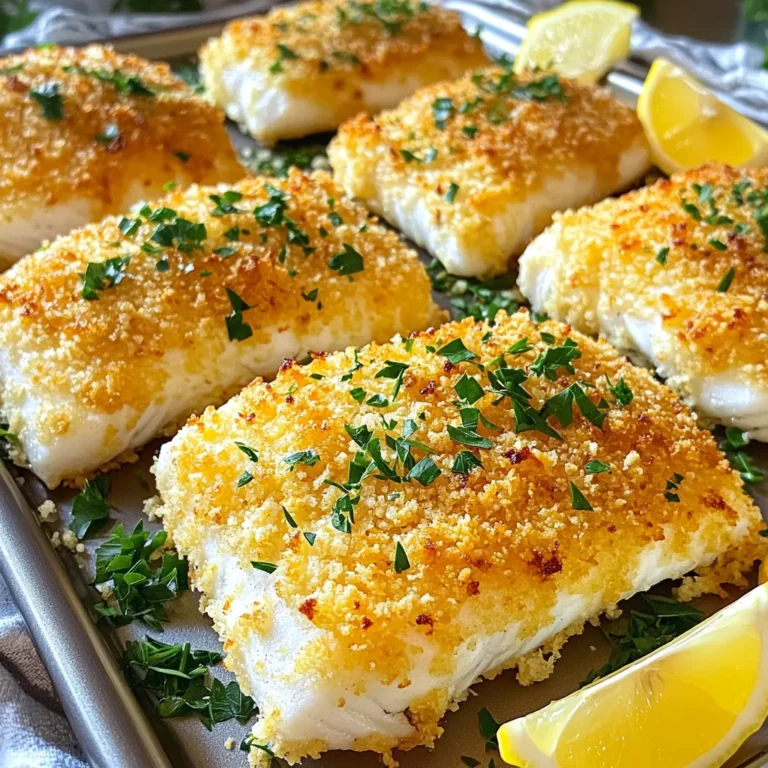
Sheet Pan Parmesan Crusted Fish Flavorful Delight
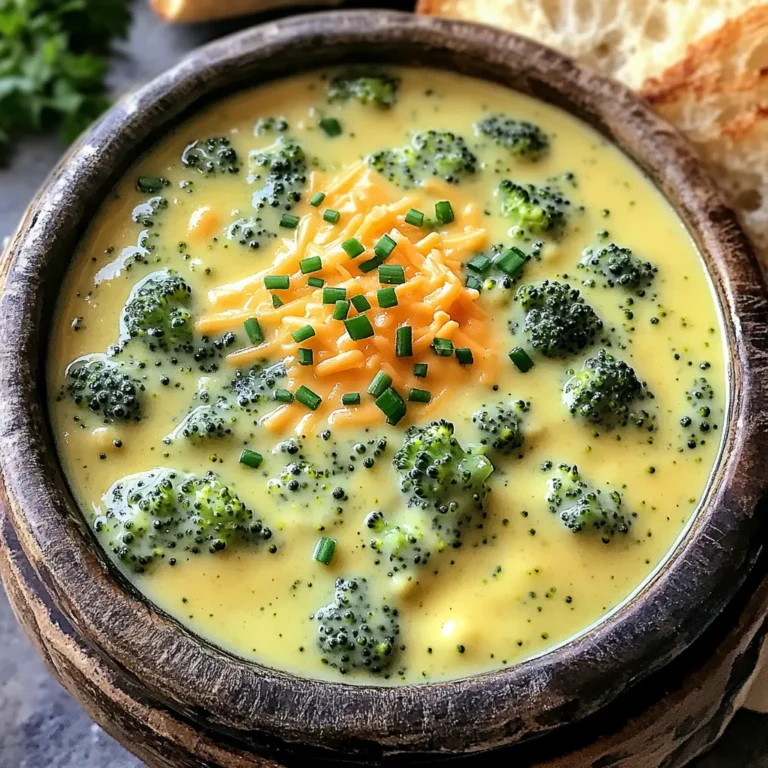
Creamy Broccoli Cheddar Soup Cozy Comfort in a Bowl
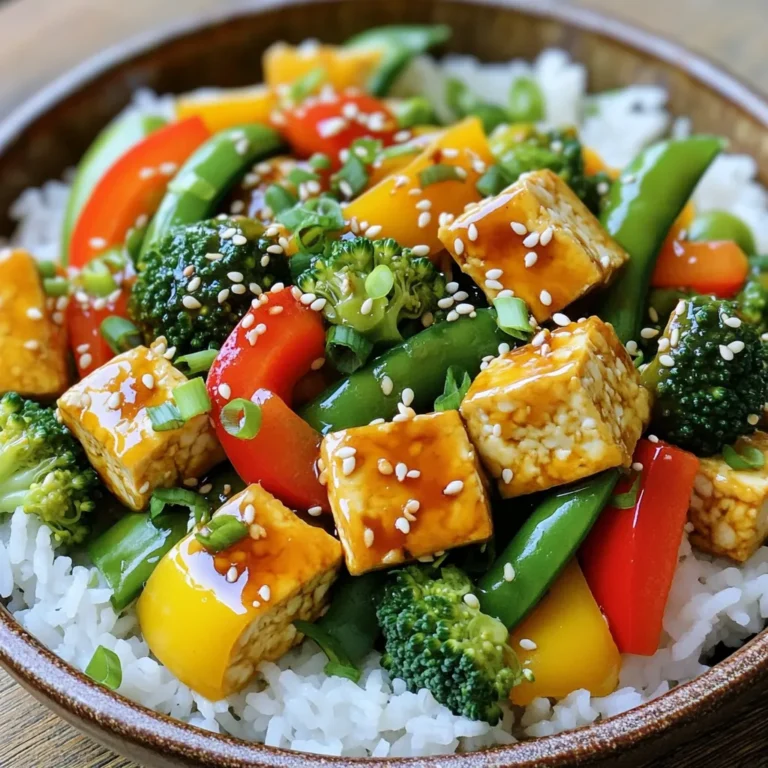
Teriyaki Tofu Stir Fry Flavorful and Easy Meal Recipe
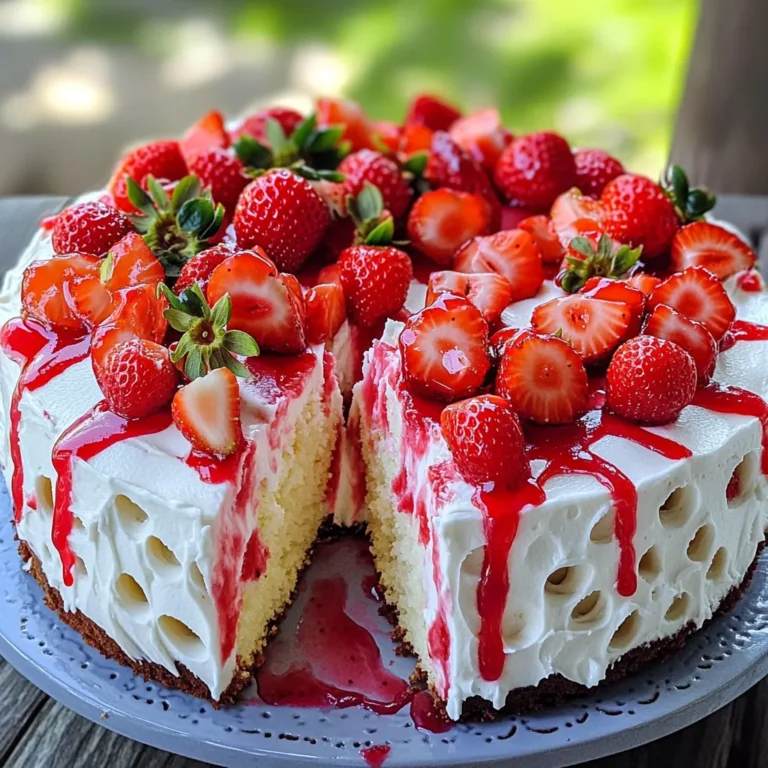
Strawberry Cheesecake Poke Cake Simple and Sweet Treat
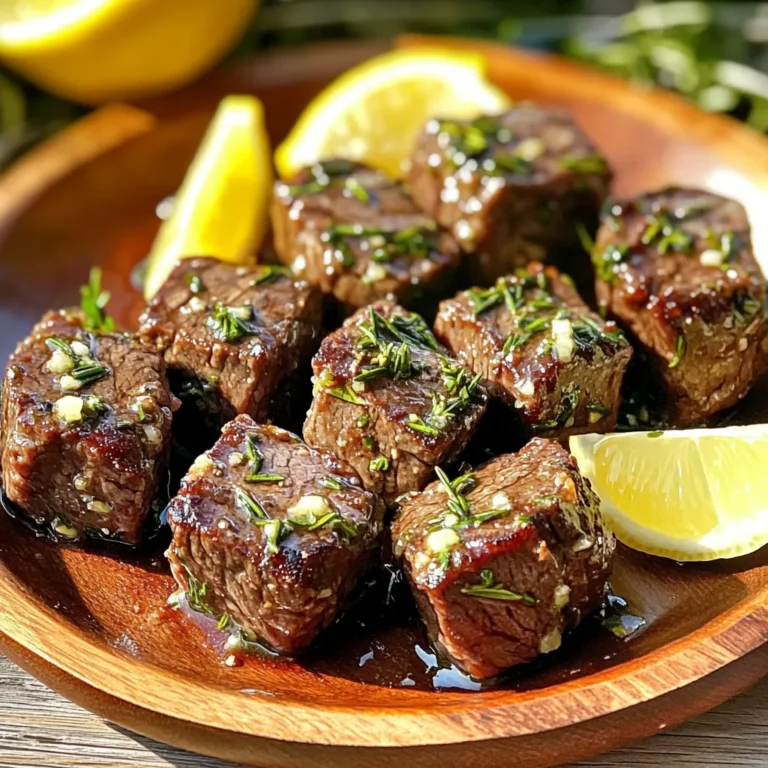
Garlic Butter Herb Steak Bites Flavorful and Simple Dish
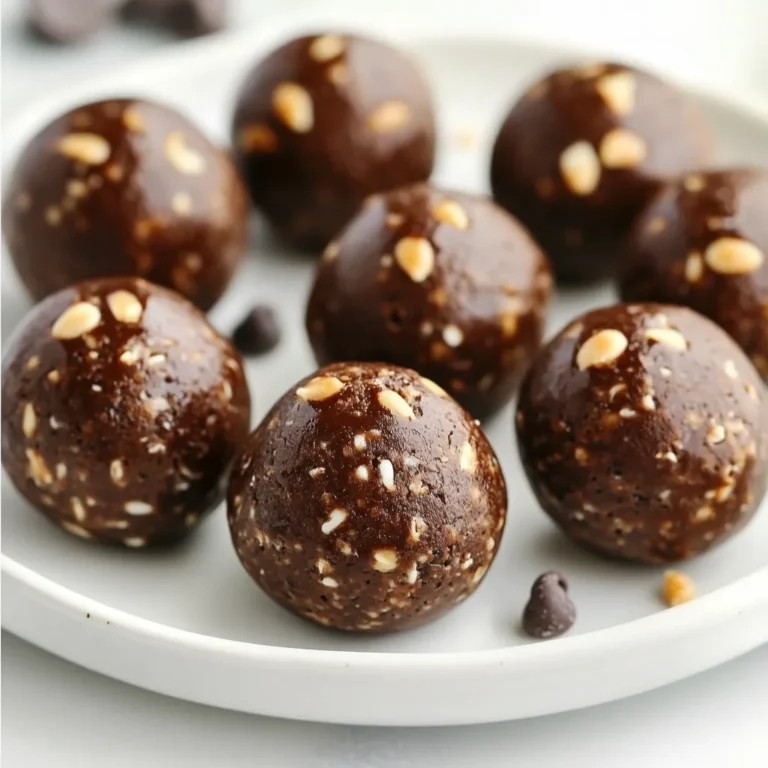
Chocolate Peanut Butter Protein Balls Healthy Snack Idea
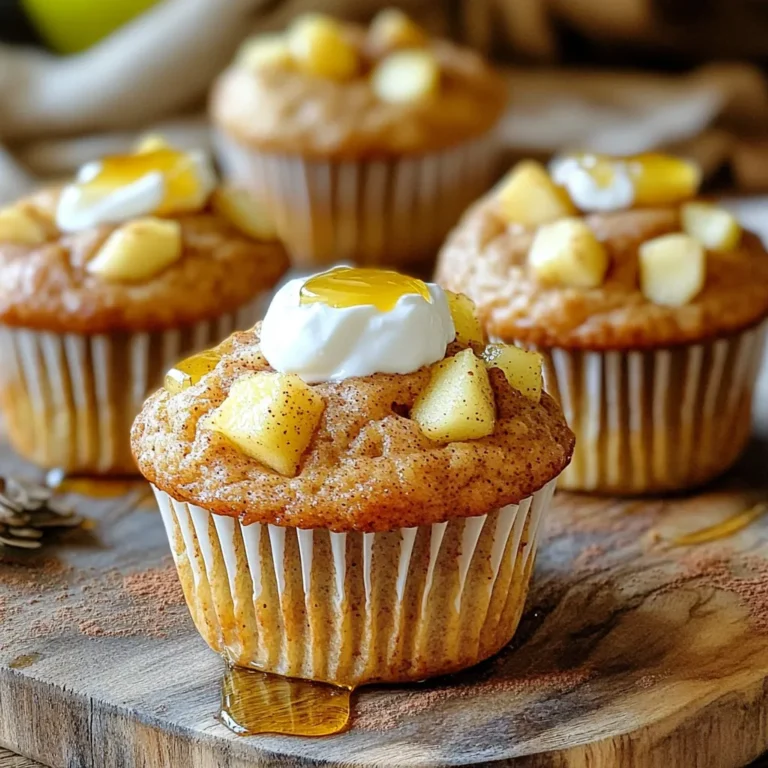
Apple Cinnamon Protein Muffins Tasty and Healthy Snack
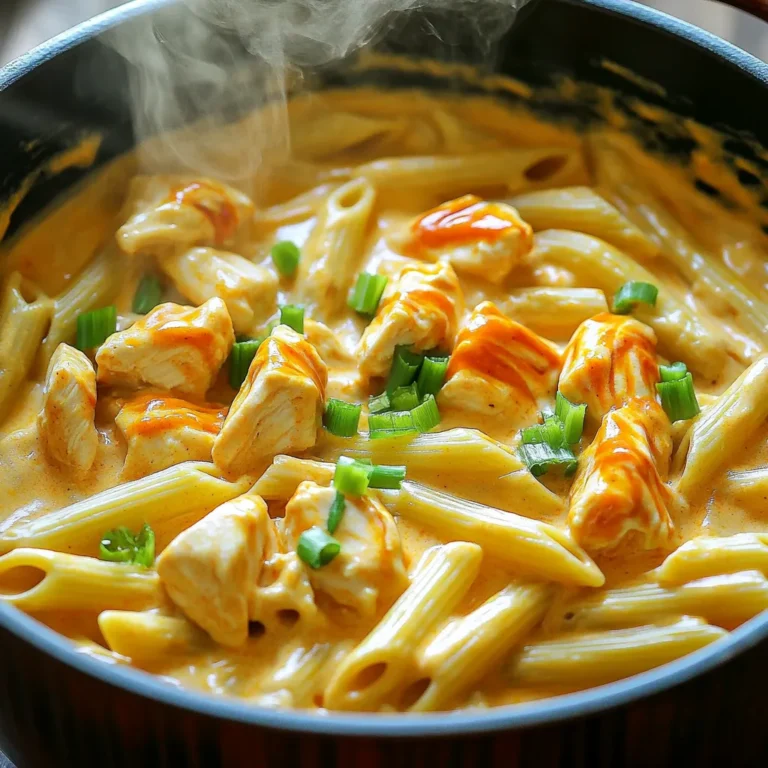
One-Pot Creamy Buffalo Chicken Pasta Delicious Recipe
No-Bake Birthday Cake Energy Bites Easy Recipe
PREV
1
…
8
9
10
…
57
NEXT