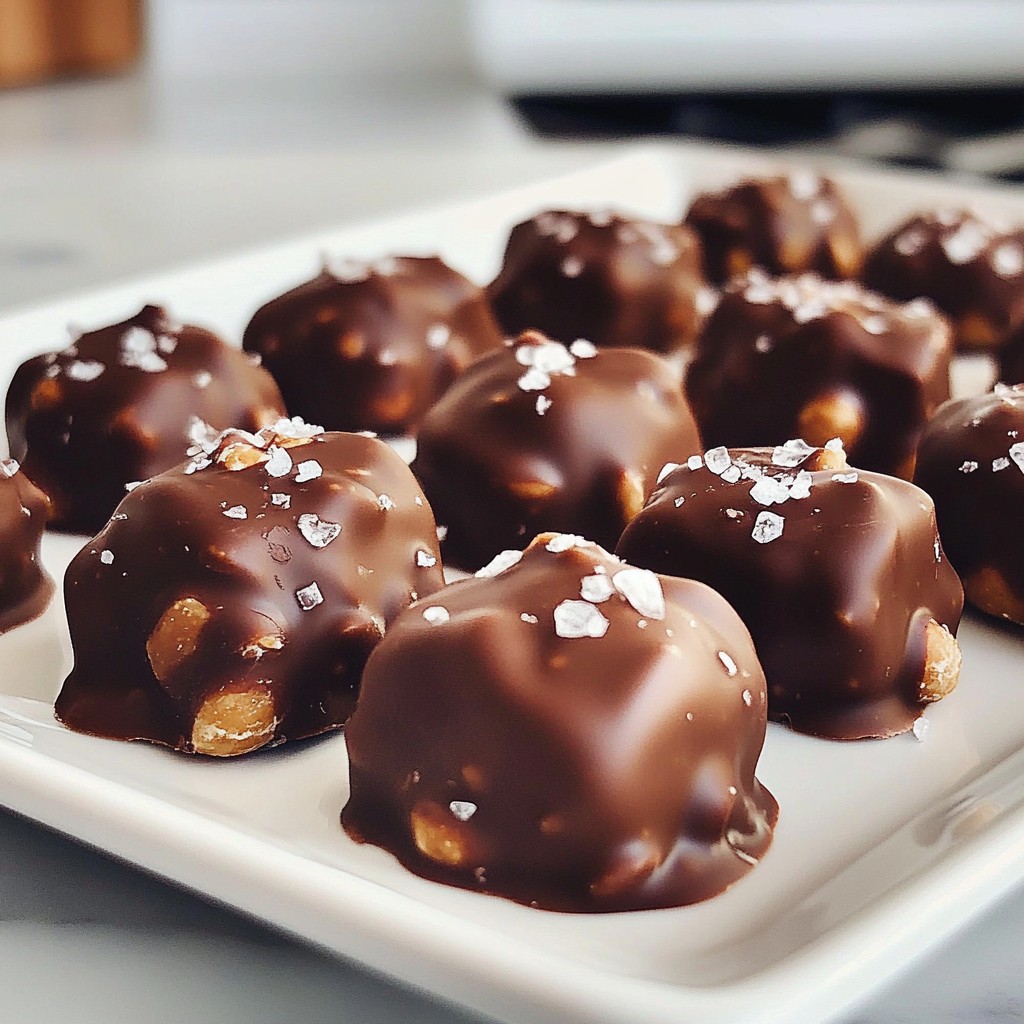
If you love sweet and salty snacks, you’re in for a treat! Chocolate Covered Peanut Clusters are the perfect blend of rich chocolate and crunchy peanuts. They’re easy to make, even if you’re a beginner in the kitchen. In this guide, I'll share how to whip up these delightful clusters and include tips, variations, and nutritional insights. Get ready to impress your friends and family with this simple yet tasty recipe!
Why I Love This Recipe
- Quick and Easy: This recipe requires minimal ingredients and can be prepared in just 10 minutes, making it perfect for a last-minute treat.
- Customizable: You can use different types of chocolate and add extras like sea salt or even dried fruit for a unique twist.
- Perfect for Gifting: These clusters are a great homemade gift for friends and family, packaged nicely in a jar or box.
- Deliciously Satisfying: The combination of crunchy peanuts and rich chocolate creates an irresistible snack that satisfies sweet cravings.
Ingredients
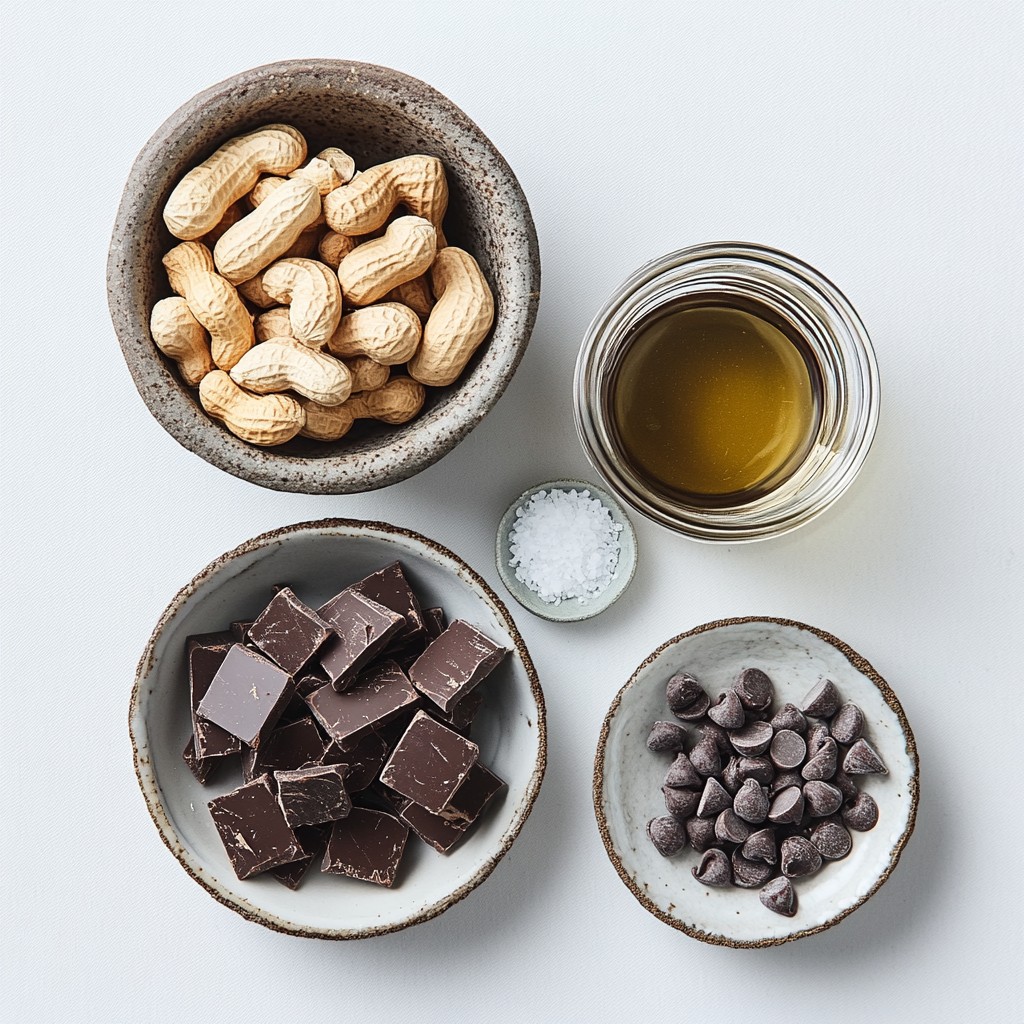
To make chocolate covered peanut clusters, you need a few simple ingredients. Here’s what you will need:
- 2 cups unsalted roasted peanuts
- 2 cups chocolate chips (dark, milk, or a mix)
- 1 tablespoon coconut oil (optional, for smoothness)
- 1 teaspoon sea salt (optional, for garnish)
Each ingredient brings something special to the mix. The unsalted roasted peanuts give a nice crunch and rich flavor. The chocolate chips are key for that sweet, creamy coating. If you want your chocolate to be extra smooth, add coconut oil. The sea salt adds a fun touch. It contrasts with the sweetness and enhances the taste.
Feel free to mix and match chocolate types! Dark chocolate offers a rich taste, while milk chocolate is sweeter. You can even use a mix for a balanced flavor.
Step-by-Step Instructions
Preparation Setup
First, line a baking sheet with parchment paper. This keeps the clusters from sticking. It makes cleanup easy too.
Melting the Chocolate
Next, take a microwave-safe bowl. Combine 2 cups of chocolate chips and 1 tablespoon of coconut oil if you want. The coconut oil helps the chocolate to be smooth. Microwave the bowl in 30-second intervals. Stir after each interval until the chocolate melts and is smooth.
Forming the Clusters
Now, it’s time to make the clusters! Take your roasted peanuts and stir them into the melted chocolate. Make sure every peanut is coated well. Then, use a spoon or a small cookie scoop to drop the mixture onto your lined baking sheet. Space the clusters apart so they don’t stick together.
Setting the Clusters
If you want, sprinkle a tiny pinch of sea salt on top of each cluster. It adds a nice flavor. Now, refrigerate the clusters for about 30 minutes. This helps the chocolate to harden and set completely. After they are firm, you can enjoy your tasty treats!
Tips & Tricks
Perfecting the Chocolate
To make your clusters shine, melt the chocolate well. This gives a smooth finish. You want no lumps in your chocolate. Stir it well after each microwave interval. If you want extra silkiness, add coconut oil. This makes the chocolate creamier and rich.
Achieving the Right Cluster Size
Using a cookie scoop helps create uniform clusters. This makes them look neat and tasty. If you use a spoon, the sizes may vary. Also, space the clusters apart on the baking sheet. This prevents them from sticking together as they cool.
Storing Your Clusters
Store your clusters in an airtight container. This keeps them fresh and tasty. You can keep them in the refrigerator for longer shelf life. If you prefer, room temperature works too. Just make sure they stay cool and dry.
Pro Tips
- Choose Your Chocolate Wisely: Different chocolates will yield different flavor profiles. Dark chocolate offers a rich taste, while milk chocolate provides sweetness. Experiment with combinations for a unique twist!
- Keep It Cool: If your kitchen is warm, consider chilling the bowl with chocolate in a larger bowl filled with ice while melting to prevent the chocolate from seizing.
- Coat Thoroughly: Ensure every peanut is evenly coated with chocolate for the best taste. Use a spatula to mix if needed, making sure all peanuts are submerged.
- Experiment with Add-Ins: Feel free to add other ingredients like dried fruit, pretzels, or spices to your clusters for added texture and flavor!
Variations
Flavor Enhancements
To boost the taste of your clusters, you can add flavors. A splash of vanilla or almond extract will add depth. Just a teaspoon is enough. You can also mix in dried fruits or seeds. Dried cranberries or sunflower seeds work great. These add a chewy texture and extra nutrients.
Alternative Coatings
While dark chocolate is classic, consider trying white chocolate. It gives a sweet twist to your clusters. You can also use yogurt-covered options. Flavored chocolate is another fun way to switch things up. Think of raspberry or mint chocolate for a unique taste.
Dietary Considerations
If you need gluten-free snacks, these clusters fit the bill. Peanuts and chocolate are naturally gluten-free. For vegan options, use dairy-free chocolate. You can skip the coconut oil if you prefer. Many chocolate brands offer vegan-friendly choices. Enjoy these clusters while sticking to your diet!
Nutritional Information
Nutritional Breakdown
Each chocolate covered peanut cluster has about 100 calories. This makes them a fun treat without too many calories. When you look closer, you find that each cluster has roughly:
- Fats: 7 grams
- Proteins: 3 grams
- Carbohydrates: 8 grams
These numbers can change based on the chocolate type you use.
Health Benefits of Ingredients
Peanuts are a star in these clusters. They offer good fats that help your heart. They are also high in protein, which is great for building muscles. Peanuts have vitamins like E and B6, too!
Chocolate adds more than just taste. Dark chocolate, in particular, is rich in antioxidants. These can help protect your cells. Eating chocolate in moderation can also lift your mood. So, you not only enjoy a treat, but you also get some benefits!
Serving Suggestions
These clusters are perfect for many occasions. You can serve them at parties, or pack them for a fun snack. They work great as a sweet treat after dinner, too.
You can pair these clusters with other snacks. Try adding fresh fruit or yogurt on the side. They also taste great with a cup of coffee or tea. Mixing flavors can make snack time even more fun!
FAQs
How long do chocolate covered peanut clusters last?
Chocolate covered peanut clusters last about two weeks if stored right. Keep them in an airtight container. You can store them in the fridge or at room temperature. If you live in a warm place, the fridge is best. The cool air helps keep the chocolate from melting.
Can I use different types of chocolate?
Yes, you can use many types of chocolate. Dark chocolate gives a rich taste. Milk chocolate is sweet and creamy. You can mix both for a fun flavor. White chocolate works too, but it has a different taste. Each type will change how your clusters taste, so try what you like best.
What’s the best way to melt chocolate correctly?
To melt chocolate correctly, use a microwave-safe bowl. Start with 30-second bursts in the microwave. After each burst, stir the chocolate. This helps it melt evenly. If you see small lumps, don’t panic. Keep stirring until it’s smooth. Avoid cooking it too long to stop burning.
How to make these clusters vegan?
To make these clusters vegan, use dairy-free chocolate chips. Look for brands that label their chocolate as vegan. You can skip the coconut oil if you want. The clusters will still taste great without it. This way, everyone can enjoy this treat!
You learned how to make chocolate-covered peanut clusters with simple ingredients. The steps are easy, and you can add your own twists, like using different extracts or chocolate. Storage tips help keep your treats fresh. Remember, these clusters not only taste great but also offer health benefits. With a bit of creativity, they can fit any dietary needs. Enjoy making these tasty snacks for yourself or to share during special moments. Get ready to impress your friends with your new skills!