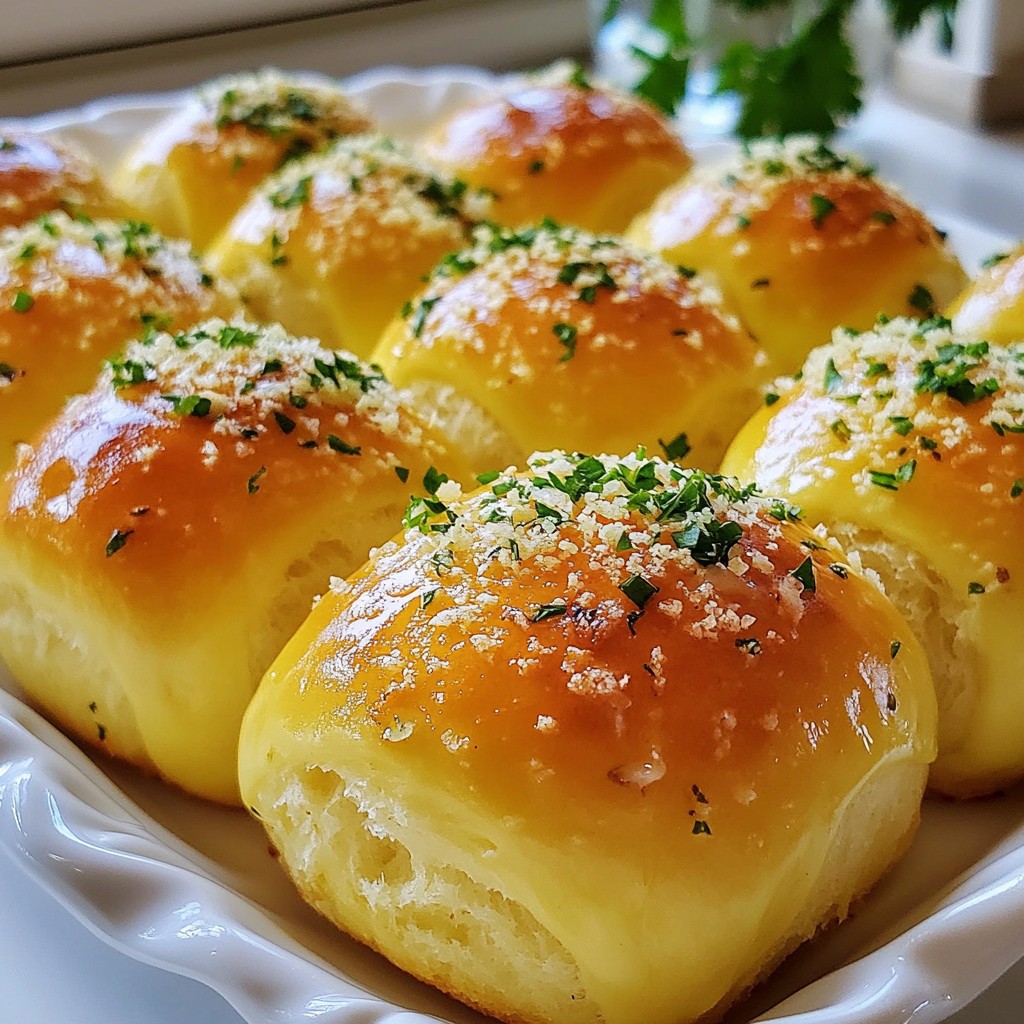
Are you ready to elevate your dinner game? These Garlic Parmesan Dinner Rolls are soft, flavorful, and super easy to make! Imagine warm, buttery rolls that melt in your mouth, infused with fresh garlic and rich Parmesan. Perfect for any meal, they’re sure to impress your family or guests. Let’s dive into the ingredients and get started on this delightful treat that will have everyone asking for seconds!
Why I Love This Recipe
- Delicious Flavor: The combination of garlic and Parmesan cheese creates an irresistible aroma and taste that elevates any meal.
- Easy to Make: This recipe is straightforward, making it perfect for both novice and experienced bakers.
- Perfect for Any Occasion: These rolls are ideal for family dinners, holiday gatherings, or as a side for any entrée.
- Customizable: You can easily add your favorite herbs or spices to make these rolls uniquely yours!
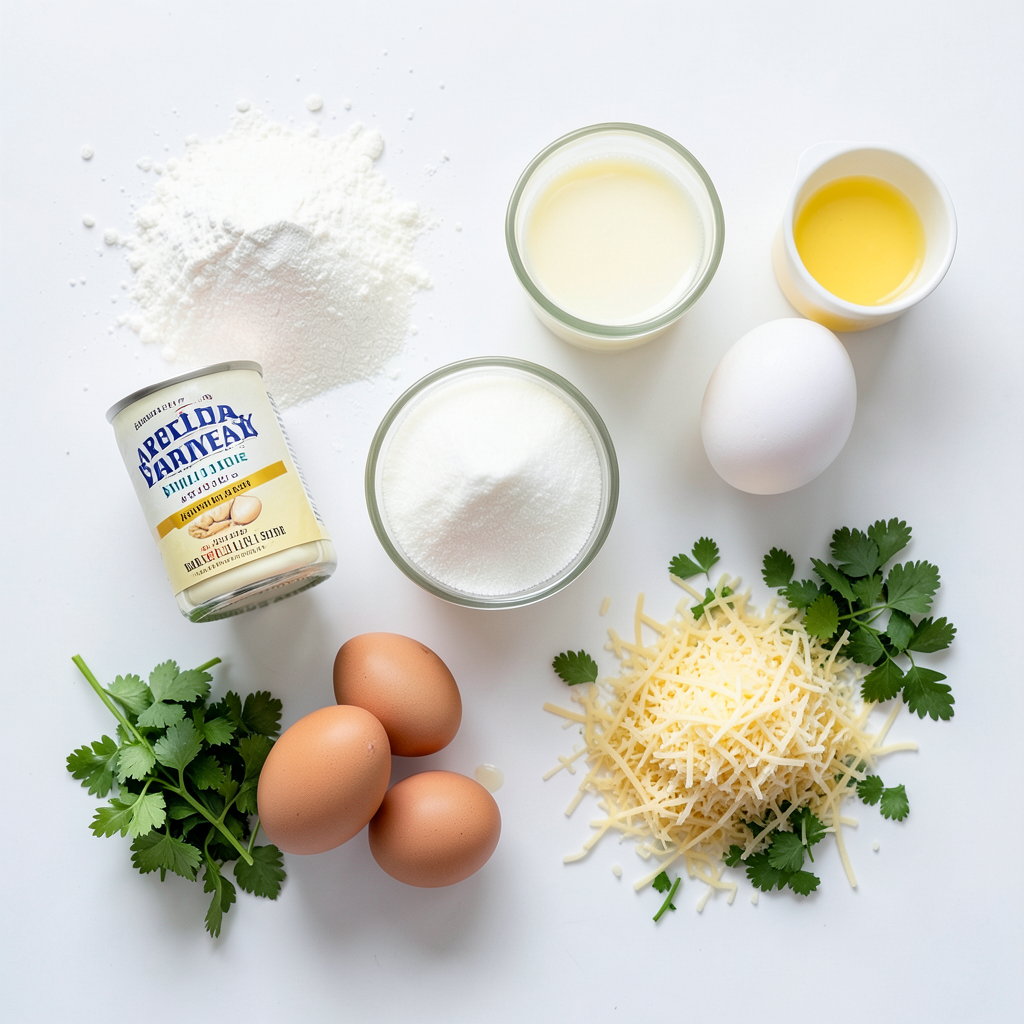
Ingredients
List of Ingredients
- 4 cups all-purpose flour: This flour gives the rolls a soft texture. Use a spoon to scoop it into the measuring cup for accuracy.
- 2 tablespoons sugar: Sugar feeds the yeast, helping it activate and rise.
- 1 packet (2 ¼ teaspoons) active dry yeast: Yeast is the key to fluffy rolls. Activate it by mixing with warm milk and sugar.
- 1 teaspoon salt: Salt enhances the flavor of the rolls. Make sure you mix it well with the flour.
- 1 cup warm milk (110°F/43°C): Warm milk helps activate the yeast. Use a thermometer for the best results.
- ½ cup unsalted butter, melted: Butter adds richness and flavor. Make sure it’s not too hot when adding to the dough.
- 2 large eggs: Eggs give the rolls structure and moisture. Room temperature eggs work best.
- 4 cloves garlic, minced: Fresh garlic gives a strong, bold flavor. Use a good-quality garlic press for even mincing.
- 1 cup grated Parmesan cheese: Choose a good-quality cheese for the best taste. Freshly grated cheese melts better than pre-packaged.
- 2 tablespoons fresh parsley, chopped: This adds freshness and color. Chop finely for even distribution.
- Extra melted butter for brushing: Brushing with butter adds shine and flavor. Use it right before baking for a golden finish.
Using fresh ingredients makes a big difference in flavor. I recommend using fresh garlic for the best taste. It adds a strong aroma and enhances the rolls. When selecting Parmesan cheese, go for quality. Freshly grated cheese melts and blends better into the dough. You can also add herbs like rosemary or thyme if you want more flavor.
Step-by-Step Instructions
Preparation Steps
1. Mixing the wet and dry ingredients: Start by combining warm milk, sugar, and yeast in a small bowl. Let it sit for about 5–10 minutes until it becomes frothy. In a larger bowl, whisk together the flour and salt. Create a well in the center and add melted butter, eggs, and the yeast mixture. Mix until you see a rough dough form.
2. Importance of kneading for texture: Kneading is key to a good roll. Turn the dough onto a lightly floured surface. Knead it for about 10 minutes. You want the dough to be smooth and elastic. This step develops the gluten, which gives the rolls their soft texture.
3. Understanding the proofing process: After kneading, place the dough in a greased bowl. Cover it with a clean cloth and let it rise in a warm spot. The dough should double in size in about 1–1.5 hours. This step is crucial for light and fluffy rolls.
Shaping and Second Rise
1. Techniques for dividing dough evenly: Once risen, punch down the dough to release air. Divide it into 12 equal pieces. Use a bench scraper for clean cuts. This helps keep the rolls uniform in size.
2. Best practices for rolling into balls: Take each piece and roll it into a tight ball. Use your hands to tuck in the edges underneath. This creates a smooth top, which looks nice when baked.
3. Timing for the second rise: Place the dough balls on a greased baking sheet or in a greased 9x13 inch pan. Cover them again and let them rise for another 30 minutes. They should look puffy and ready to bake.
Baking the Rolls
1. Oven preheating tips: Preheat your oven to 375°F (190°C). This ensures your rolls bake evenly. A hot oven gives a nice crust.
2. Signs to look for to avoid under-baking: Bake for 20–25 minutes. Look for a golden brown color. The rolls should sound hollow when tapped on the bottom. This means they are fully cooked inside.
3. Buttering technique for extra flavor: After baking, melt some extra butter. Brush it over the rolls for added flavor and shine. This step makes them look appealing and taste delicious.
Tips & Tricks
Enhancing Flavor
To make these rolls even better, try using different cheeses. Mozzarella gives a nice stretch, while feta adds a tangy kick. You can also add herbs like rosemary or thyme. Fresh herbs brighten the flavor and add a lovely aroma. For dipping, marinara sauce pairs well. Olive oil with herbs makes a tasty alternative.
Common Mistakes to Avoid
Be careful not to over-knead your dough. This can make the rolls tough. Under-kneading can lead to a dense texture. Make sure to allow enough time for the dough to rise. If you skip this step, your rolls won’t be fluffy. Watch your baking temperature closely. If it’s too low, the rolls may not brown well. Too high, and they may burn outside while staying raw inside.
Pro Tips
- Use Fresh Garlic: Freshly minced garlic will provide a more robust and aromatic flavor compared to pre-minced or powdered garlic.
- Let Dough Rise Properly: Ensure the dough is placed in a warm, draft-free area to allow it to rise effectively, which enhances the texture of the rolls.
- Check Oven Temperature: Use an oven thermometer to verify that your oven is at the correct temperature for baking, ensuring even cooking and browning.
- Brush with Butter Twice: Brushing melted butter on the rolls before and after baking adds flavor and a beautiful shine to the finished product.
Variations
Sweet and Savory Twists
You can add new flavors to your Garlic Parmesan Dinner Rolls. Try mixing in different savory ingredients. Chopped olives or sun-dried tomatoes add nice depth. You can also sprinkle in fresh herbs like rosemary or thyme. These will give your rolls a wonderful aroma.
If you prefer a sweet twist, consider making sweet garlic rolls. Replace some Parmesan with sweet ingredients like honey or brown sugar. You could also add cinnamon for a unique flavor. This mix creates a fun dessert option for your dinner rolls.
Gluten-Free Version
For a gluten-free option, choose a good gluten-free flour blend. Look for blends that include xanthan gum. This helps mimic the texture of regular flour. Brands like Bob's Red Mill or King Arthur Flour work well.
When using gluten-free flour, the yeast may need extra help to activate. You can replace warm milk with warm water. Add a bit more sugar to help the yeast grow. This will ensure your rolls rise nicely and stay soft.
Storage Info
Storing Leftover Rolls
To keep your Garlic Parmesan Dinner Rolls fresh, use an airtight container. This prevents moisture loss and keeps them soft. If you have a lot, consider using a resealable plastic bag. Remove as much air as you can from the bag.
For refrigeration, place the rolls in their container in the fridge. They will stay good for about three days. If you want to save them longer, freezing is a great option. Wrap each roll in plastic wrap, then put them in a freezer bag. They can last up to three months in the freezer.
Reheating Techniques
When it's time to enjoy your rolls again, reheating is key. You can use an oven to keep them soft. Preheat the oven to 350°F (175°C). Place the rolls on a baking sheet and cover them with foil. Heat for about 10-15 minutes until warm.
If you prefer the microwave, use a low power setting. Place a roll on a microwave-safe plate with a damp paper towel on top. Heat for about 10-15 seconds at a time. This method helps keep the rolls moist but may change the texture slightly.
For the best flavor, brush some melted butter on the rolls after reheating. This adds richness and keeps them tasty.
FAQs
Can I make the dough ahead of time?
Yes, you can make the dough ahead of time. Here’s how:
- Mix the ingredients: Follow the recipe until the first rise.
- Chill the dough: After kneading, place the dough in a greased bowl. Cover it well and put it in the fridge.
- Time it right: You can keep it in the fridge for up to 24 hours.
- Bring to room temp: When ready to bake, take it out and let it sit for about 30 minutes before shaping.
This way, you save time on baking day.
What can I do if my dough doesn’t rise?
Dough can fail to rise for a few reasons. Here’s what to check:
- Yeast freshness: Make sure your yeast is fresh. Old yeast won’t work.
- Water temperature: The warm milk should be around 110°F (43°C). Too hot can kill the yeast.
- Rising spot: Ensure you place the dough in a warm, draft-free area. Cold spots can slow rising.
If your dough still doesn’t rise, you can try again with new yeast.
How long can I store my Garlic Parmesan Dinner Rolls?
You can store your rolls for a few days. Here are some tips:
- Room temperature: Keep them in an airtight container for up to 2 days.
- Refrigeration: If you need longer, store them in the fridge for up to a week.
- Freezing: For longer storage, freeze them. Wrap each roll tightly and place in a freezer bag. They last up to 3 months.
This way, you can enjoy your rolls anytime!
Creating Garlic Parmesan Dinner Rolls is simple and fun. We covered key ingredients, like flour, yeast, and fresh garlic. I shared step-by-step instructions for perfect rolls, including mixing, kneading, and shaping.
Remember to watch your baking time to avoid under-baking. Experiment with flavors, and avoid common mistakes like over-kneading. You can even try sweet or gluten-free versions. Proper storage and reheating keep your rolls tasty.
Enjoy your baking journey, and share these delicious rolls with friends!