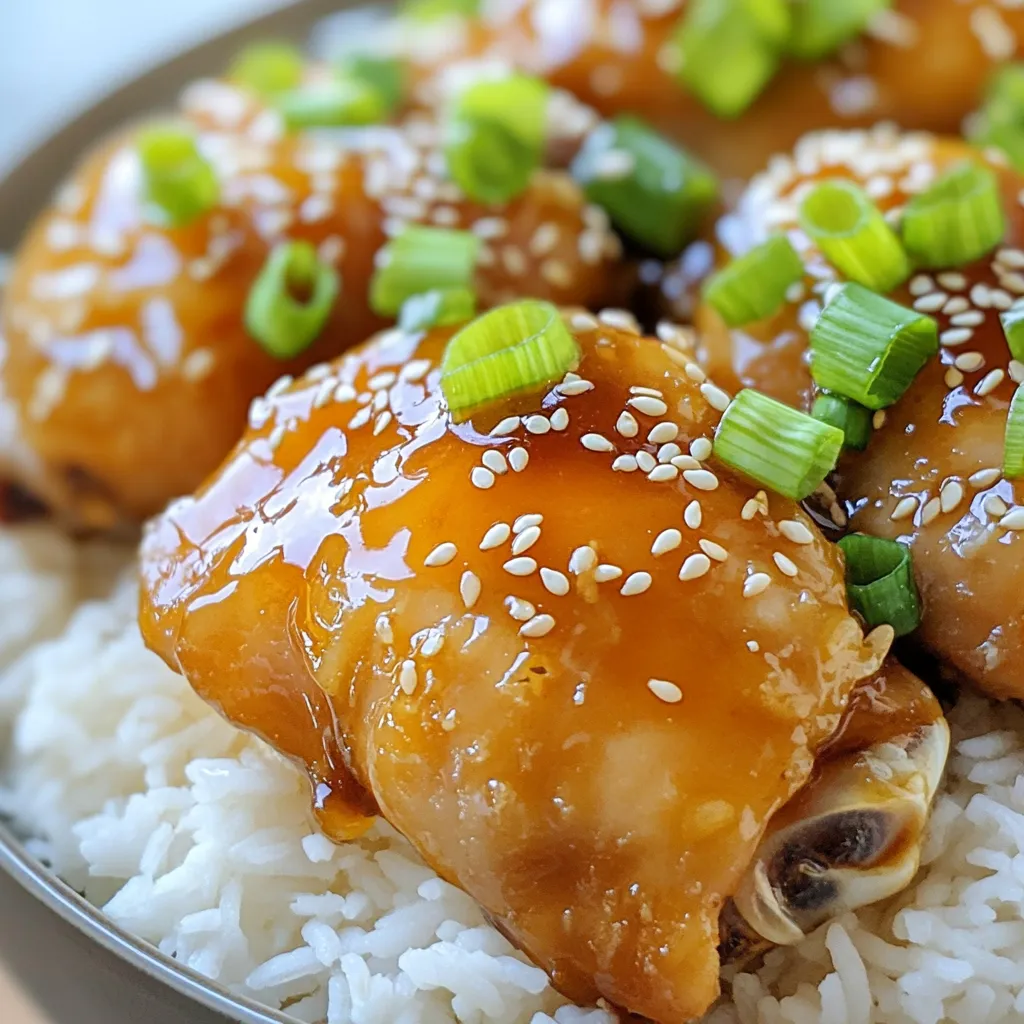
Get ready to impress your taste buds with my Instant Pot Honey Garlic Chicken! This dish is loaded with flavor, thanks to the perfect blend of sweet honey and savory soy sauce. In just a few steps, you’ll create a meal that pleases everyone at the table. Whether you’re short on time or new to cooking, this recipe makes it easy to serve up something special. Let’s dive into the ingredients and get started!
Ingredients
Main Ingredients
– 2 lbs chicken thighs (boneless, skinless)
– 1/2 cup honey
– 1/2 cup soy sauce or coconut aminos (for gluten-free)
Flavor Enhancers
– 4 cloves garlic, minced
– 1 tablespoon fresh ginger, minced
– 1 tablespoon sesame oil
– 1 teaspoon red pepper flakes
Thickening Agent and Garnish
– 1 tablespoon cornstarch
– 2 tablespoons water
– 2 green onions, sliced
– Sesame seeds
Let’s break down the ingredients. The chicken thighs form the base of this dish. They are juicy and cook well in the Instant Pot. Honey gives the dish a sweet taste. It also helps to caramelize the chicken. Soy sauce or coconut aminos adds saltiness and depth.
Next, we have flavor enhancers. Garlic and ginger add fresh, bold flavors. They create a fragrant aroma when cooking. Sesame oil provides a nutty taste, giving the dish richness. Red pepper flakes add heat. You can adjust the amount to suit your taste.
Finally, we need a thickening agent. Cornstarch mixed with water makes a slurry. This helps to thicken the sauce. Green onions and sesame seeds are for garnish. They add color and a bit of crunch. Together, these ingredients create a flavor-packed dish that’s sure to impress!
Step-by-Step Instructions
Preparation of Chicken
Start by patting the chicken thighs dry. This helps them sear better. Next, season the chicken lightly with salt and pepper. This step adds flavor and enhances the dish.
Make the Honey Garlic Sauce
In a mixing bowl, combine the honey, soy sauce, minced garlic, ginger, sesame oil, and red pepper flakes. Stir everything together until well mixed. This sauce is the star of the dish and gives it that sweet and savory punch.
Cooking Process
Turn on your Instant Pot and select the Sauté function. Once it is hot, you can add a bit of oil if you like. Sear the chicken thighs for about 2 to 3 minutes on each side until they turn golden brown. This locks in the juices. After searing, remove the chicken from the pot.
Pour the honey garlic mixture into the pot. Be sure to scrape the bottom to deglaze, lifting any browned bits. This adds extra flavor to your sauce. Now, return the seared chicken thighs to the pot, making sure they are well-coated with the sauce.
Close the Instant Pot lid and set the steam release valve to sealing. Select Manual or Pressure Cook and set it for 10 minutes at high pressure. When cooking finishes, let it naturally release pressure for 5 minutes. Then, carefully switch the valve to venting to release any remaining pressure.
Thicken the Sauce
Remove the chicken from the pot and place it on a plate. To thicken the sauce, mix cornstarch with water in a small bowl. Add this mixture to the pot and select the Sauté function again. Stir continuously for about 2 to 3 minutes until the sauce thickens. Finally, return the chicken to the pot and toss it to coat in the thickened sauce. This step makes the dish even more delicious!
Tips & Tricks
Optimal Cooking Techniques
To achieve perfectly seared chicken, start by patting the thighs dry. This step helps to create a good crust. Season them lightly with salt and pepper. When the Instant Pot is hot, add a bit of oil. Sear each side for about 2-3 minutes until golden brown. This browning adds depth to the dish.
Deglazing the pot is key to great flavor. After searing, pour in the honey-garlic mixture. Scrape the bottom well with a spatula. This lifts any brown bits, enhancing the sauce’s taste.
Flavor Optimization
Adjusting the red pepper flakes lets you control the spice. If you like it mild, use less. For a kick, add more flakes. Experiment to find your perfect heat level.
You can also substitute ingredients for variety. Try using coconut aminos instead of soy sauce for a gluten-free dish. You can switch honey for maple syrup for a different sweet note.
Presentation Suggestions
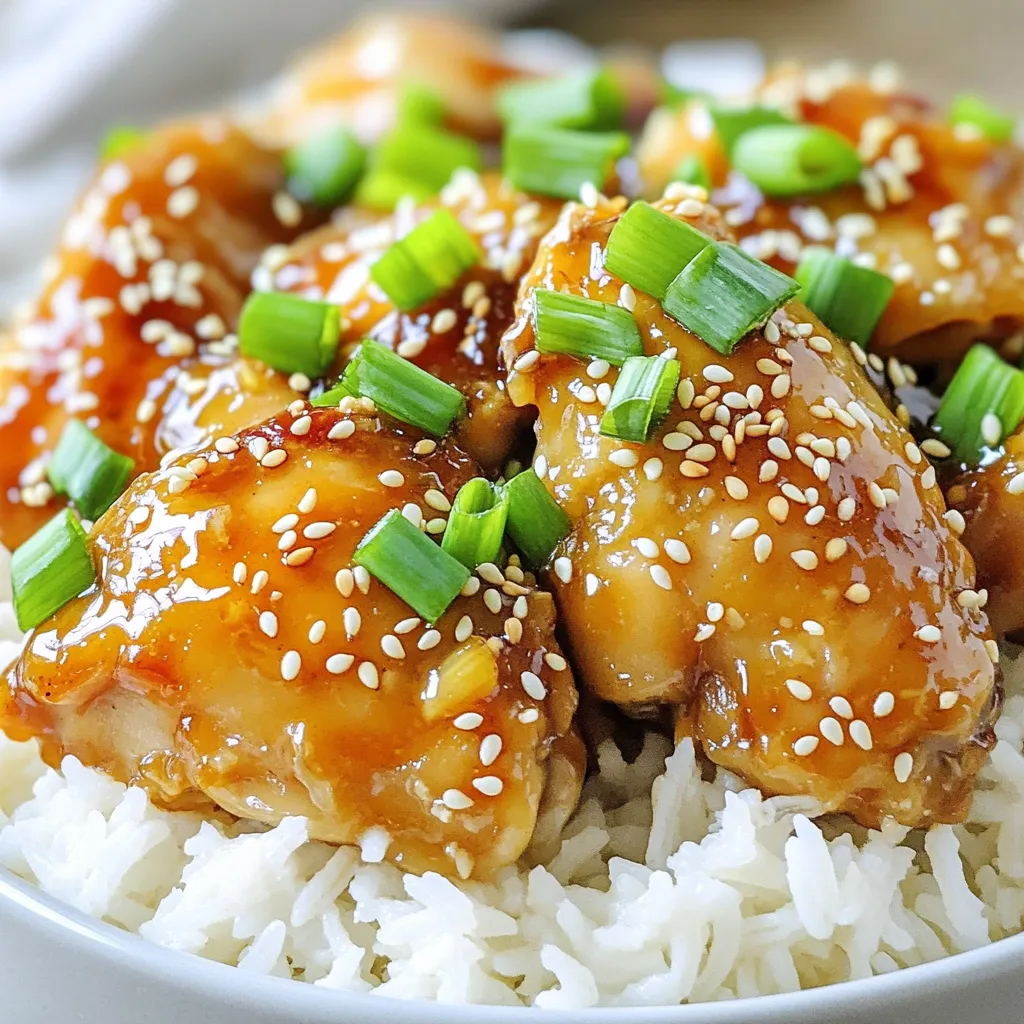
Serve the chicken over steamed rice or quinoa. This adds a nice base for the rich sauce. Drizzle the honey garlic sauce over the top for extra flavor.
For garnishing, slice green onions and sprinkle them on top. Add sesame seeds for crunch and a pop of color. This makes your dish look as good as it tastes!
Variations
Different Protein Options
You can switch up the protein in this recipe. If you prefer chicken breasts, use them instead of thighs. Chicken breasts cook faster and are leaner. For a plant-based option, try using tofu. Just press the tofu first to remove extra moisture. Cut it into cubes and follow the same cooking steps. This gives you a tasty and healthy meal.
Dietary Considerations
If you need a gluten-free option, use coconut aminos instead of soy sauce. It has a similar sweet taste but is safe for those avoiding gluten. You can also use different sweeteners like maple syrup or agave nectar. These options help lower the sugar content without losing flavor.
Seasonal Ingredients
You can make this dish even better by adding seasonal veggies. In spring, consider adding snap peas or asparagus. In fall, try diced butternut squash or carrots. These veggies not only add color but also provide extra nutrients. Just chop them up and toss them in during the last few minutes of cooking for a fresh touch.
Storage Info
Refrigeration Guidelines
To store leftover honey garlic chicken, let it cool first. Place it in an airtight container. Make sure to cover it well. This helps keep the chicken fresh and tasty. You can store it in the fridge for up to three days. If you want to enjoy it later, consider freezing it instead.
Freezing Instructions
To freeze honey garlic chicken, follow these steps. First, let the chicken cool completely. Slice or leave it whole, depending on your taste. Place it in a freezer-safe bag or container. Remove as much air as possible to prevent freezer burn. Label the bag with the date. You can freeze it for up to three months. When you are ready to eat, just thaw it in the fridge overnight.
Reheating Tips
To reheat honey garlic chicken, use a few methods. The best way is in the microwave. Place the chicken in a microwave-safe dish. Cover it with a lid or plastic wrap. Heat it in short bursts of one minute. Check to see if it’s warm throughout. You can also reheat it on the stove. Use a non-stick pan over medium heat. Add a splash of water to keep it moist. Stir it gently until hot. This keeps the flavors alive and tasty.
FAQs
How long does it take to cook honey garlic chicken in an Instant Pot?
Cooking honey garlic chicken in an Instant Pot takes about 30 minutes. This time includes 10 minutes of high-pressure cooking. You also need to allow for 5 minutes of natural pressure release. Prepping the ingredients takes about 15 minutes. So, you can have a tasty meal ready in no time.
Can I make Instant Pot Honey Garlic Chicken ahead of time?
Yes, you can make this dish ahead of time. Prepare the chicken and sauce, then store them in the fridge for up to two days. When you’re ready to eat, just reheat it in the Instant Pot. You can also freeze the cooked chicken for up to three months. Just thaw it overnight in the fridge before reheating.
What can I serve with honey garlic chicken?
Honey garlic chicken pairs well with many sides. Here are some great options:
– Steamed rice or quinoa for a healthy base.
– Stir-fried vegetables for added crunch.
– A fresh salad to balance the flavors.
– Mashed potatoes for a comforting touch.
These sides enhance the meal and bring out the delicious honey garlic flavor. Enjoy experimenting!
This blog post covered how to make a tasty honey garlic chicken in the Instant Pot. We looked at the main ingredients, like chicken thighs, honey, and soy sauce. The cooking steps made it simple and quick. I shared tips for the best cooking and serving ways.
In closing, this recipe is easy to make and full of flavor. Enjoy this dish with your favorite sides!