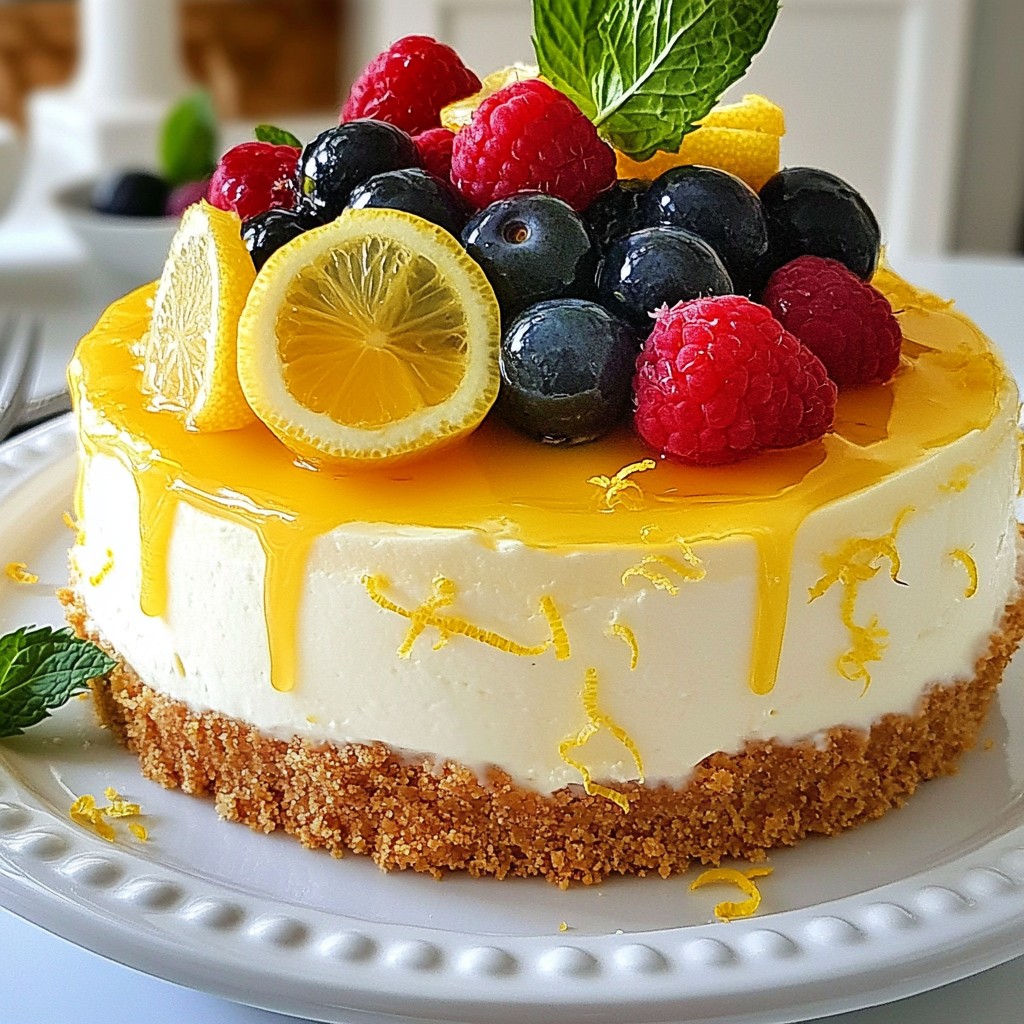
When you're craving something sweet, this No-Bake Lemon Cheesecake is a winner. It's simple, refreshing, and perfect for any occasion. You don’t need to be a pro in the kitchen; my easy steps will guide you. I’ll share the ingredients, tips, and variations to make sure it turns out great every time. Ready to impress with a delightful dessert? Let’s get started!
Why I Love This Recipe
- Deliciously Refreshing: This cheesecake is light and zesty, making it the perfect dessert for warm weather or any occasion.
- No-Bake Convenience: Skip the oven and enjoy a fuss-free dessert that comes together in just 20 minutes of prep.
- Versatile Garnish: Top with your favorite fresh berries and mint leaves for an added touch of flavor and elegance.
- Make-Ahead Option: This cheesecake can be prepared in advance, allowing you to enjoy more time with your guests.
Ingredients
List of Ingredients
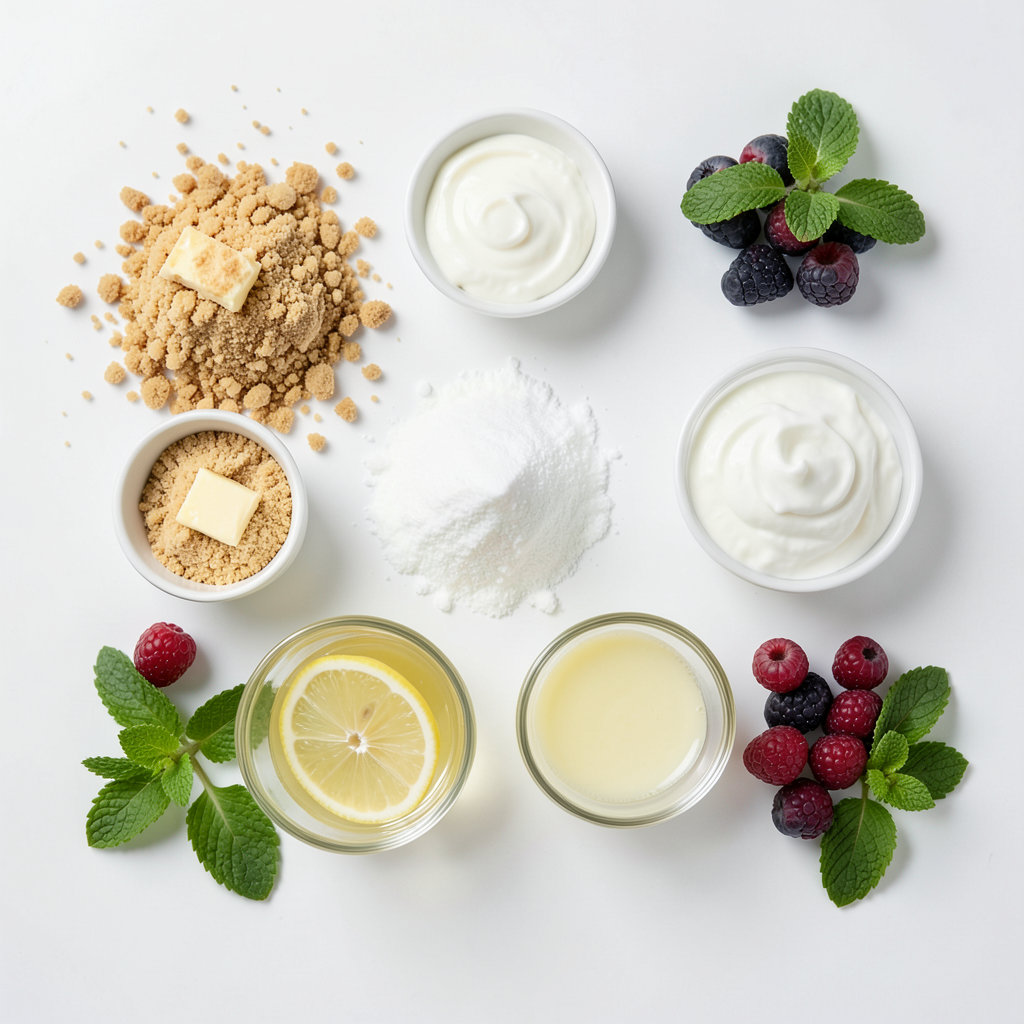
To make this refreshing no-bake lemon cheesecake, you need the following:
- 1 ½ cups graham cracker crumbs
- ½ cup unsalted butter, melted
- 1 cup granulated sugar
- 2 cups cream cheese, softened
- 1 teaspoon vanilla extract
- 1 cup sour cream
- 1/3 cup freshly squeezed lemon juice
- Zest of 2 lemons
- 1 cup heavy whipping cream
- Optional: fresh berries and mint leaves for garnish
Measurement Guide
Measuring ingredients accurately is key for great results. Use these tips:
- Graham cracker crumbs: Crush whole crackers to get 1 ½ cups.
- Butter: Melt unsalted butter gently to avoid burning.
- Granulated sugar: Use a dry measuring cup for precise amounts.
- Cream cheese: Soften it at room temp for easy mixing.
- Sour cream and heavy cream: Use liquid measuring cups for these.
- Lemon juice and zest: Fresh is best for bright flavor.
Ingredient Substitutes
You can swap some ingredients if needed:
- Graham cracker crumbs: Try digestive biscuits or Oreo crumbs.
- Unsalted butter: Use coconut oil or margarine if preferred.
- Cream cheese: Neufchâtel cheese offers a lighter option.
- Sour cream: Greek yogurt works well for tanginess.
- Heavy cream: Use coconut cream for a dairy-free choice.
- Lemon juice: Bottled lemon juice is fine but fresh tastes better.
Step-by-Step Instructions
Preparing the Crust
To make the crust, start by combining 1 ½ cups of graham cracker crumbs with ½ cup of melted unsalted butter in a medium bowl. Mix until the crumbs feel like wet sand. This step is key for a sturdy base. Next, press this mixture firmly into the bottom of a 9-inch springform pan. Use a flat-bottomed glass to ensure it is even. This will create a nice, firm crust that holds the filling well. Place the crust in the refrigerator while you make the filling. This helps it set nicely.
Making the Filling
For the filling, take a large mixing bowl. Beat 2 cups of softened cream cheese with 1 cup of granulated sugar using an electric mixer. Mix until the blend is smooth and creamy. Then, add in 1 teaspoon of vanilla extract, 1 cup of sour cream, 1/3 cup of freshly squeezed lemon juice, and the zest of 2 lemons. Beat until everything is well combined and smooth. This mixture should be rich and tangy, perfect for a lemon cheesecake.
In a separate bowl, whip 1 cup of heavy whipping cream until stiff peaks form. This adds lightness to your cheesecake. Gently fold this whipped cream into the lemon and cream cheese mixture. Be careful not to deflate the whipped cream. This keeps your cheesecake fluffy and airy.
Assembling the Cheesecake
Now it’s time to assemble the cheesecake. Pour the filling over the chilled crust in the springform pan. Use a spatula to spread it evenly. Make sure the filling reaches all the edges. This ensures each slice has the same great taste.
Chilling the Cheesecake
Cover the cheesecake with plastic wrap and place it in the refrigerator. Chill for at least 4 hours, but overnight is best for the ideal texture. This allows the flavors to meld and the cheesecake to set properly. Once set, carefully remove it from the springform pan. Before serving, you can garnish with fresh berries and mint leaves if you like. Cut into slices and enjoy this refreshing treat!
Tips & Tricks
Tips for the Perfect Texture
To get a creamy texture, use room temperature cream cheese. Cold cream cheese can make lumps. Beat it well with sugar until smooth. When adding the whipped cream, fold gently. This keeps the air in and makes it light. Chill the cheesecake overnight for the best texture. It will set nicely and taste even better.
Common Mistakes to Avoid
One common mistake is not mixing enough. If you don’t beat the cream cheese well, lumps will stay. Another mistake is overmixing after adding the whipped cream. This can make the cheesecake dense. Don't skip chilling time. If you try to serve it too soon, it will be runny and messy.
Serving Suggestions
Serve the cheesecake cold for the best taste. Top with fresh berries for a burst of color and flavor. Mint leaves add a nice touch too. You can cut it into small slices for parties. It pairs well with a cup of tea or coffee.
Pro Tips
- Chill Your Bowl: To achieve the best whipped cream texture, chill your mixing bowl and beaters in the refrigerator for about 10-15 minutes before whipping the cream.
- Use Fresh Lemons: For the brightest flavor, always use freshly squeezed lemon juice and zest. Bottled lemon juice can lack the vibrant taste you want in this cheesecake.
- Let It Set Overnight: For a creamier texture and robust flavor, allow the cheesecake to set in the refrigerator overnight before serving.
- Garnish Wisely: Top your cheesecake with berries and fresh mint just before serving to keep them fresh and visually appealing.
Variations
Different Flavor Options
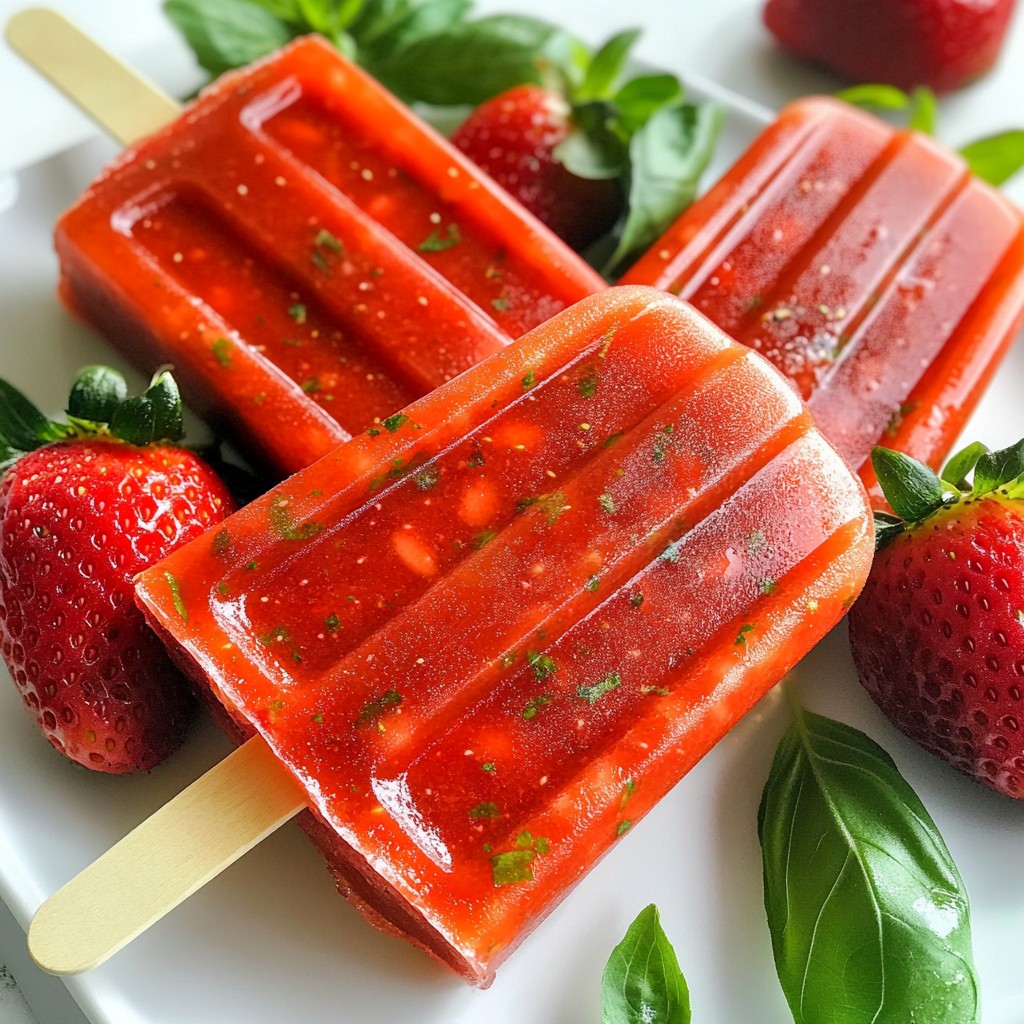
You can switch up the flavor of this cheesecake easily. Instead of lemon, try lime or orange. Both fruits add a fresh twist. You can also use berry purees. Strawberries or raspberries lend a fruity taste. Blend the berries and mix them into the cream cheese. This gives a colorful and tasty option.
Healthier Alternatives
If you want a lighter cheesecake, try these swaps. Use Greek yogurt instead of sour cream. It adds protein and cuts down on fat. You can also use honey or maple syrup instead of sugar. This will give a different sweetness. For the crust, use oats or nuts for a healthier base. These options will keep the taste while making it better for you.
Creative Toppings
Toppings can make your cheesecake pop. Fresh berries are a classic choice. They add color and taste. You can also use a fruit compote for a sweet layer. Whipped cream is great too, but try adding a bit of lemon zest. This adds a nice hint of flavor. For an extra crunch, sprinkle some crushed nuts on top. Get creative and mix your favorite toppings!
Storage Info
How to Store Leftover Cheesecake
To store leftover cheesecake, first cover it tightly with plastic wrap. This keeps the cheesecake fresh and prevents it from drying out. You can also place it in an airtight container. Store it in the fridge for up to five days.
Freezing Instructions
You can freeze your no-bake lemon cheesecake if you want to enjoy it later. First, let the cheesecake chill completely in the fridge. Then, wrap it tightly in plastic wrap. Next, place it in a freezer-safe container. It can last in the freezer for up to three months. When ready to eat, thaw it in the fridge overnight.
Best Practices for Freshness
To keep your cheesecake fresh, avoid cutting it until you are ready to serve. Each slice exposes the filling, which can dry out faster. If you add toppings like berries or mint, do so just before serving. This keeps everything looking and tasting great.
FAQs
How long does the cheesecake last?
This cheesecake lasts about 3 to 5 days in the fridge. Keep it covered tightly with plastic wrap or in an airtight container. If you have any leftovers, make sure to keep it cool and store it properly.
Can I use a different type of citrus?
Yes, you can use other citrus fruits like lime or orange. Each fruit gives a unique twist to the flavor. Just replace the lemon juice and zest with your favorite citrus.
What can I do if my cheesecake won’t set?
If your cheesecake won’t set, check if you mixed the filling well. Make sure the cream was whipped to stiff peaks. If it still seems too soft, let it chill longer in the fridge.
Can I make this cheesecake in advance?
Absolutely! You can make this cheesecake up to two days ahead. Just keep it in the fridge until you are ready to serve. This helps the flavors meld together nicely.
How to make a gluten-free version?
To make a gluten-free version, use gluten-free graham cracker crumbs. You can find these at most grocery stores. Just follow the same recipe, and you’ll have a delicious gluten-free treat!
You learned how to make a delicious cheesecake from scratch. We covered key ingredients, measurement tips, and substitutes. I shared step-by-step instructions for the crust and filling. You also got helpful tips for texture and common mistakes to avoid.
Try fun flavor variations or healthier options to suit your taste. Don’t forget how to store leftovers for freshness. With these details, you can impress friends and family with your cheesecake skills! Enjoy the process and the tasty dessert you create.