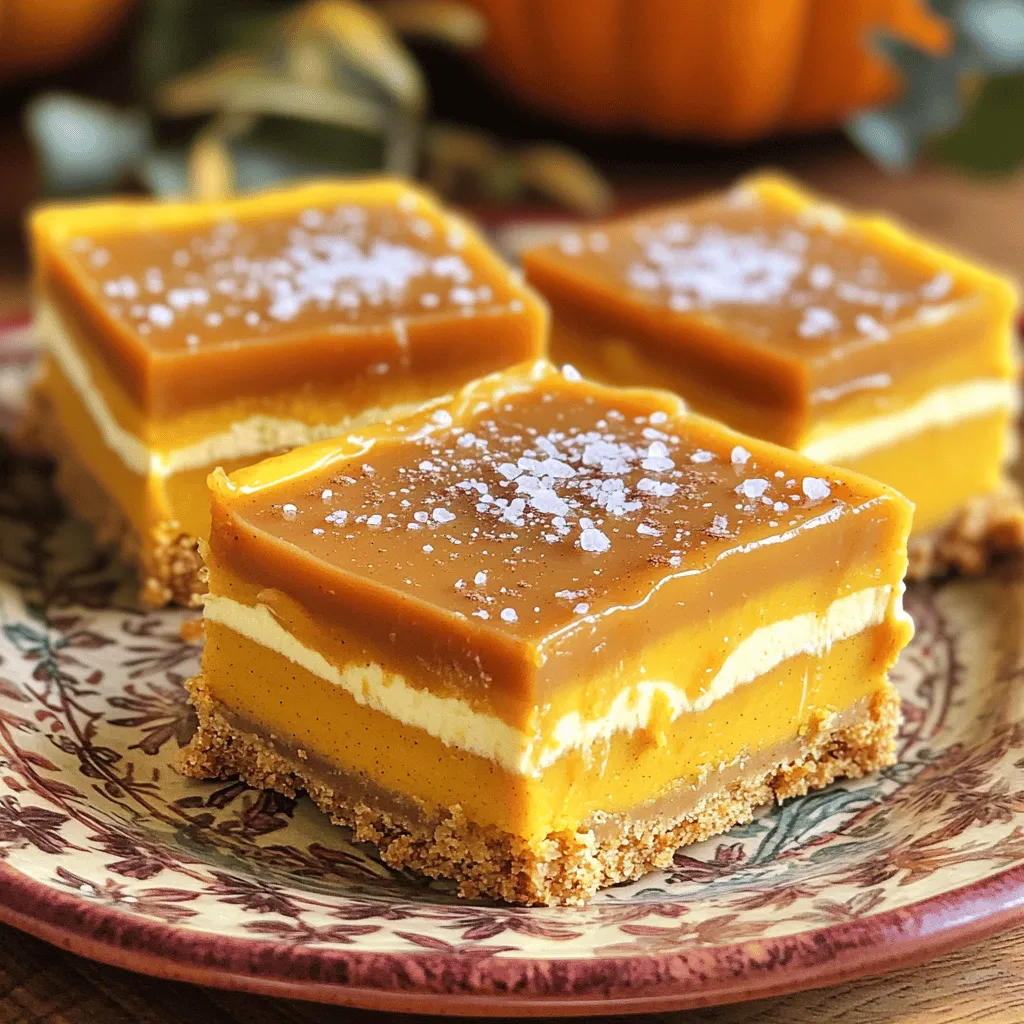
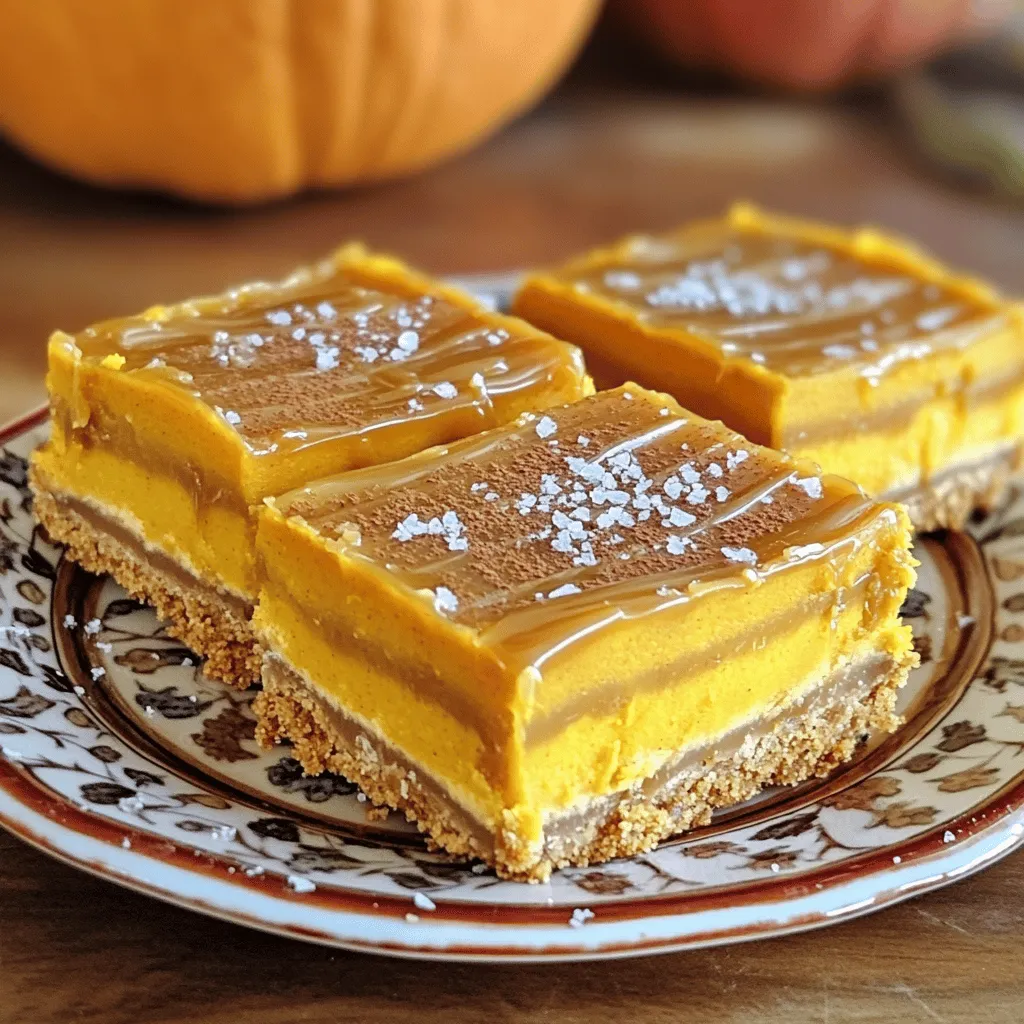
Looking for a sweet and easy fall treat? No-Bake Salted Caramel Pumpkin Bars are the answer! These bars blend pumpkin’s rich flavor with the smoothness of cream cheese and the delight of salted caramel. No baking means less hassle, so you can enjoy more time with family or friends. In this guide, I’ll walk you through the simple steps and tips to make these tasty bars a hit at your next gathering!
Ingredients
List of Ingredients
– 1 ½ cups graham cracker crumbs
– ½ cup unsalted butter, melted
– ⅓ cup brown sugar
– 1 (15 oz) can pure pumpkin puree
– 1 cup cream cheese, softened
– ½ cup powdered sugar
– 1 tsp vanilla extract
– 1 tsp pumpkin pie spice
– ½ cup salted caramel sauce
– Sea salt for garnish
The ingredients for No-Bake Salted Caramel Pumpkin Bars are simple and easy to find. You need graham cracker crumbs for the crust. They give a nice crunch and flavor. Melted unsalted butter helps bind the crust together. Brown sugar adds sweetness and a rich taste.
The filling is where the magic happens. Pure pumpkin puree is key for that fall flavor. Cream cheese makes it creamy and smooth. The powdered sugar sweetens the mix, while vanilla extract adds depth. Pumpkin pie spice brings warmth and that classic autumn aroma.
Finally, the salted caramel sauce is a game changer. It adds a sweet and salty contrast. You can sprinkle sea salt on top for an extra burst of flavor. These ingredients come together to create a delightful treat.
Ingredient Substitutions
– Alternative crust options: You can use crushed cookies or oats for a different base.
– Dairy-free alternatives: Swap cream cheese for a dairy-free cream cheese. Use coconut oil instead of butter.
– Sweetener substitutes: Replace brown sugar with maple syrup or honey for a natural sweetness.
These substitutions allow you to customize the recipe to fit your needs or preferences. Enjoy experimenting with these options!
Step-by-Step Instructions
Preparing the Crust
First, mix the graham cracker crumbs, melted butter, and brown sugar in a bowl. Use a fork or your hands to blend them well. You want a crumbly texture that sticks together. Next, press this mixture into the bottom of a 9×9-inch baking dish. Make sure to cover the whole bottom evenly. Once pressed, chill this crust in the refrigerator for about 10 to 15 minutes. This will help it set.
Making the Pumpkin Filling
In a clean bowl, start by mixing the cream cheese until it is smooth and creamy. This step is key to a nice texture. Then, add the pumpkin puree, powdered sugar, vanilla extract, and pumpkin pie spice. Mix everything together until there are no lumps. You want a smooth filling that will be rich in flavor.
Assembling and Chilling
Now, remove the crust from the fridge. Pour the pumpkin filling over the crust. Spread it evenly with a spatula or the back of a spoon. Next, drizzle the salted caramel sauce on top. Use a knife to swirl the caramel into the pumpkin filling for a marbled look. Finally, return the dish to the refrigerator. Chill for at least 3 hours or until the bars are firm. This step is important to make sure your bars hold their shape when cut.
Tips & Tricks
Ensuring Perfect Texture
To mix the ingredients smoothly, use room temperature cream cheese. This helps blend easily with the pumpkin puree. Start by mixing the cream cheese alone until creamy. Then add pumpkin puree and other ingredients gradually. Make sure there are no lumps.
Chill the bars for at least three hours. This time allows the filling to set properly. If you can, leave them overnight. Keeping the bars in a cool spot helps maintain their shape.
Presentation Tips
For a lovely presentation, serve these bars on a decorative plate. Drizzle some extra salted caramel on top. Add a sprinkle of cinnamon for a festive touch. This not only looks nice but adds flavor too.
When cutting the bars, use a sharp knife. Dip the knife in warm water for clean cuts. This helps make each bar look neat and tasty.
Quick Fixes
If the crust is too crumbly, add a bit more melted butter. This helps it hold together better. If the filling is too sweet, mix in a bit more pumpkin puree. This balances the flavors nicely.
For spice adjustments, add more pumpkin pie spice or cinnamon. Taste as you go to find your perfect flavor. It’s all about making these bars just right for you!
Variations
Flavor Variations
You can easily change the flavor of your no-bake salted caramel pumpkin bars. Adding chocolate or butterscotch chips gives them a sweet twist. Simply mix in half a cup of chips into the pumpkin filling. You can also try different spices for new tastes. Swap the pumpkin pie spice for cinnamon or nutmeg to find your favorite.
Serving Variations
Want to impress at a party? Turn your bars into mini desserts. Cut them into small squares or use a cookie cutter for fun shapes. These bite-sized treats are perfect for sharing! You can also pair the bars with ice cream or whipped cream. A scoop of vanilla ice cream on top adds a creamy touch.
Seasonal Adaptations
Think about using fresh pumpkin instead of canned. Fresh pumpkin has a vibrant taste and texture. To use fresh pumpkin, roast and puree it until smooth. You can also mix in other fall flavors. Try adding a bit of maple syrup or chopped pecans for a cozy twist. These changes keep your bars fresh and exciting!
Storage Info
Best Storage Practices
To keep your No-Bake Salted Caramel Pumpkin Bars fresh, store them in the refrigerator. Place them in an airtight container. This helps prevent them from drying out. The cold air keeps the flavors bright and tasty. Make sure to cover them well, so they remain soft and creamy.
Freezing Instructions
If you want to save some bars for later, you can freeze them. Cut the bars into pieces before freezing. Wrap each piece in plastic wrap. Then, place them in a freezer-safe bag. This way, they stay fresh for up to three months. When you’re ready to enjoy them, take a bar out and let it thaw in the fridge. It usually takes a few hours to soften.
Shelf Life
In the refrigerator, your bars will last about five days. Keep an eye on them. If they start to smell off or look dry, it’s best to toss them. A good sign that the bars have gone bad is if the crust becomes hard or the filling separates. Always check for freshness before serving.
FAQs
How long do No-Bake Salted Caramel Pumpkin Bars last?
No-Bake Salted Caramel Pumpkin Bars last about five days in the fridge. Keep them covered with plastic wrap or in an airtight container. The bars taste best when fresh, but they hold up well for a few days.
Can I make these bars ahead of time?
Yes, you can make these bars ahead of time. They are perfect for parties or holidays. Prepare them a day or two in advance. Just remember to chill them for at least three hours.
What can I use instead of cream cheese?
If you want a substitute for cream cheese, try using Greek yogurt or silken tofu. Both options give a creamy texture. You can also use dairy-free cream cheese for a vegan option.
Is it necessary to chill the bars for 3 hours?
Chilling the bars for three hours helps them set properly. It makes cutting and serving easier. If you chill for less time, they may be too soft.
Can I use homemade salted caramel sauce?
Yes, you can use homemade salted caramel sauce. It adds a personal touch and extra flavor. Just make sure it’s thick enough to drizzle and swirl into the filling.
In this blog post, we explored making delicious No-Bake Salted Caramel Pumpkin Bars. We covered simple ingredient choices, how to prepare the crust, and tips for a smooth filling. You learned about different ways to serve and store these tasty treats. Remember, the joy of this recipe lies in its flexibility and ease. You can adjust flavors, swap ingredients, and even make them days ahead. Enjoy the process and share these bars with friends, making fall a little sweeter.