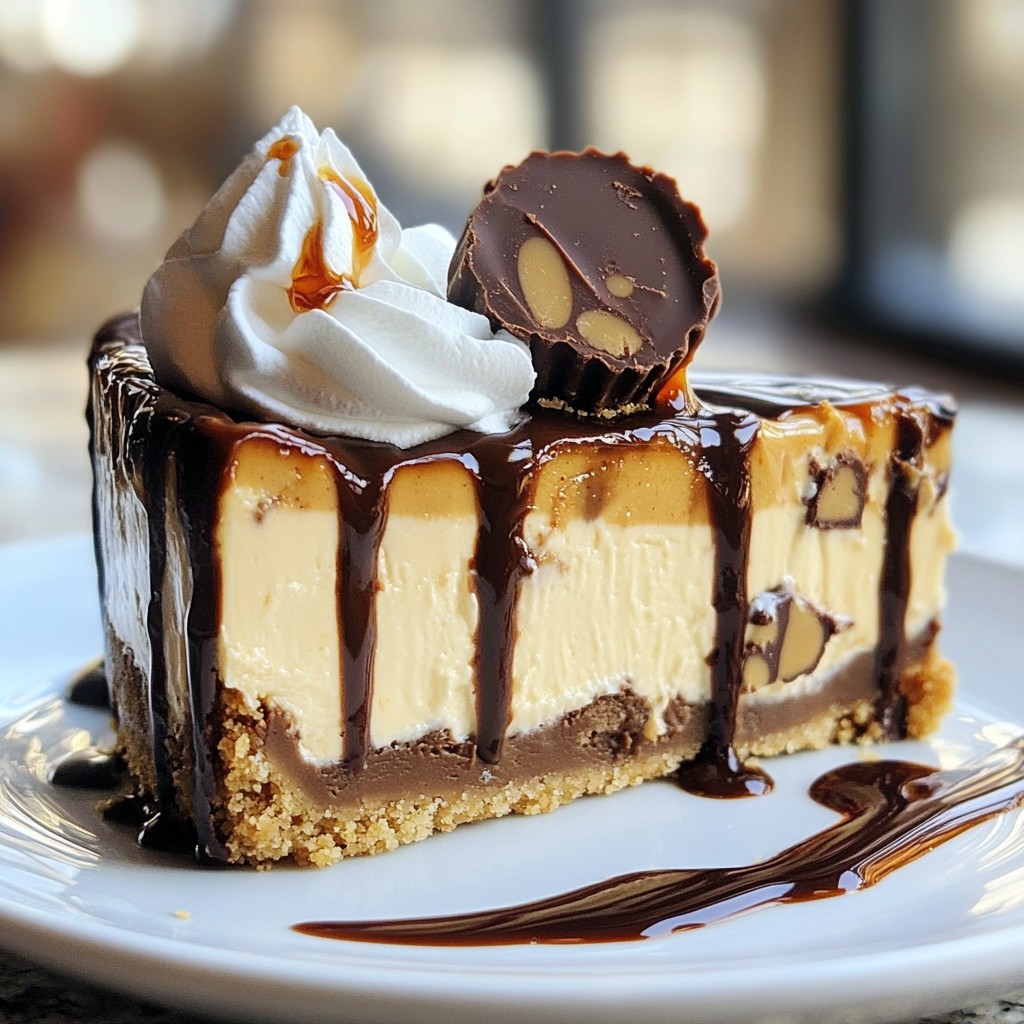
Are you ready to indulge in an amazing treat? This Peanut Butter Cup Cheesecake brings rich and creamy flavors together in one satisfying bite. In this post, I'll guide you through easy steps to create this dessert masterpiece. From ingredient tips to common mistakes, I've got you covered. Whether you're a novice or a pro, this cheesecake will impress everyone at your table. Let’s dive into the delicious world of peanut butter bliss!
Error: Error code: 429 - {'error': {'message': 'You exceeded your current quota, please check your plan and billing details. For more information on this error, read the docs: https://platform.openai.com/docs/guides/error-codes/api-errors.', 'type': 'insufficient_quota', 'param': None, 'code': 'insufficient_quota'}}
Ingredients
List of required ingredients
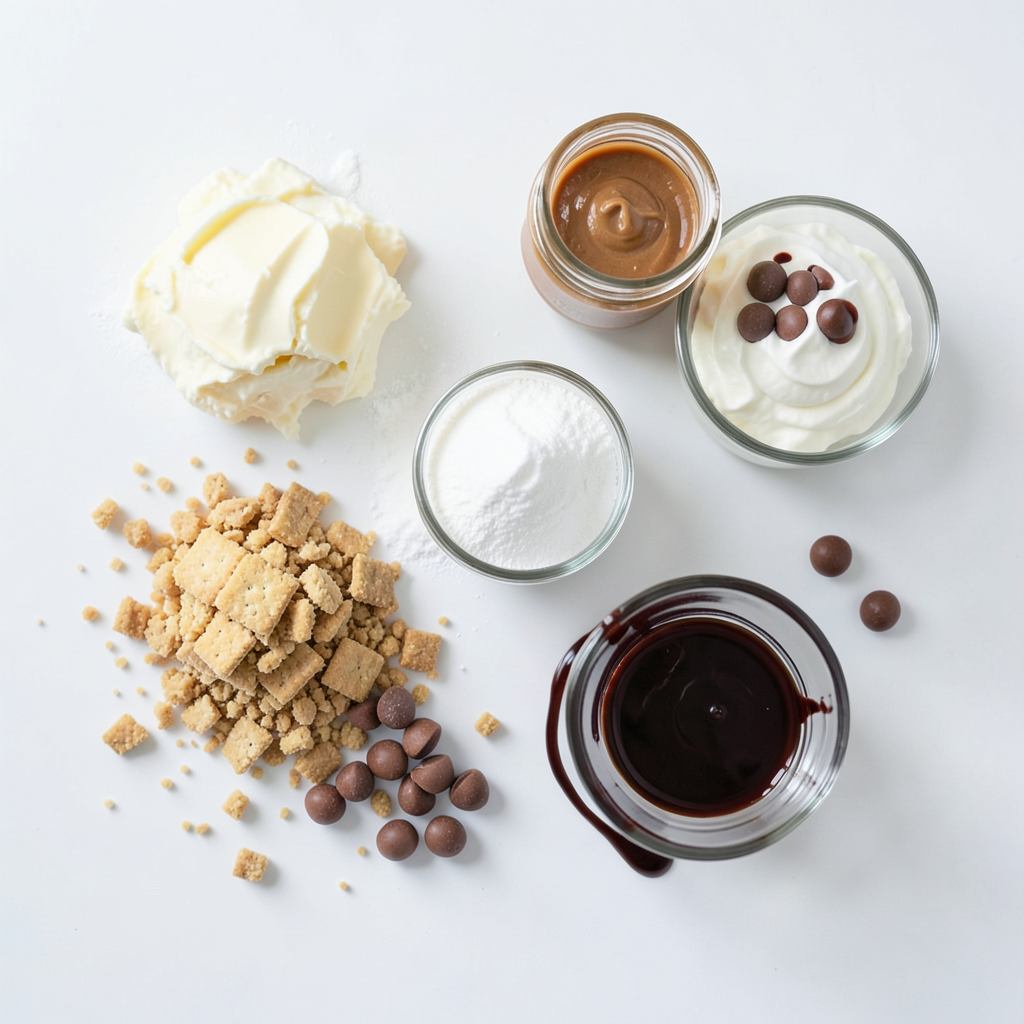
To make this rich peanut butter cup cheesecake, gather these items:
- 1 ½ cups crushed graham crackers
- ½ cup unsalted butter, melted
- 2 cups cream cheese, softened
- 1 cup powdered sugar
- 1 cup creamy peanut butter
- 1 teaspoon vanilla extract
- 2 cups whipped cream
- 1 cup mini peanut butter cups, chopped (plus extra for garnish)
- ½ cup chocolate syrup
Key ingredient details and substitutions
Cream cheese provides a creamy base. Use full-fat for best taste. If you want a lighter version, try low-fat cream cheese. For the peanut butter, creamy is best. Natural peanut butter can work, but it may change the texture. Graham crackers create a tasty crust. You can swap them for Oreo cookies or any favorite cookie. Use a gluten-free cookie for a gluten-free option.
Suggested brands for baking
I recommend these brands for great results:
- Cream Cheese: Philadelphia or a store brand works well.
- Peanut Butter: Jif or Skippy gives a smooth blend.
- Graham Crackers: Honey Maid or Keebler adds great flavor.
- Whipped Cream: Reddi-wip or Cool Whip is perfect for topping.
These choices help ensure your cheesecake is just right. Happy baking!
Step-by-Step Instructions
Preparing the crust
To make the crust, you need graham crackers and butter. Start by crushing the graham crackers in a bowl until they are fine crumbs. Mix these crumbs with melted butter. The mixture should feel like wet sand. Press the mixture into the bottom of a 9-inch springform pan. Make sure it is firm and even. Refrigerate the crust while you prepare the filling. A cold crust helps hold the cheesecake well.
Making the cheesecake filling
The filling is the star of the show. First, ensure your cream cheese is softened. This step makes it easier to mix. Beat the cream cheese in a bowl until smooth. This should take about 2-3 minutes. Next, add in the powdered sugar and creamy peanut butter. Mix until everything blends well. You want a creamy texture with no lumps. Stir in the vanilla extract. Finally, gently fold in the whipped cream. This keeps the filling light and fluffy.
Assembling and chilling the cheesecake
Now it’s time to put it all together. Pour the peanut butter filling over the cold crust. Use a spatula to smooth it out evenly. Tap the pan lightly on the counter to help remove any air bubbles. Cover the pan with plastic wrap. Chill in the fridge for at least 4 hours. For best results, let it chill overnight. This allows the flavors to meld and the cheesecake to set perfectly.
Tips & Tricks
Common mistakes to avoid
When making peanut butter cup cheesecake, some common mistakes can ruin your dish. First, avoid overmixing the cream cheese. This can add air and cause cracks in your cheesecake. Second, make sure your cream cheese is at room temperature. Cold cream cheese does not blend well with other ingredients. Lastly, do not skip refrigerating the crust. A warm crust can make the filling too soft.
How to make a smoother filling
To achieve a smooth filling, start with softened cream cheese. Use an electric mixer for 2-3 minutes until it’s creamy. Gradually add the powdered sugar and peanut butter. Mix slowly at first to avoid a sugar cloud. After that, gently fold in the whipped cream. This keeps the mixture light and fluffy. If you see lumps, keep mixing, but don’t overdo it.
Serving suggestions for cheesecake
When serving your cheesecake, presentation matters! Cut slices and place them on individual plates. Drizzle chocolate syrup on top for a rich finish. Add a dollop of whipped cream for extra creaminess. Finally, top each slice with a mini peanut butter cup. This makes your dessert look as good as it tastes. Enjoy this delightful treat with family and friends!
Error: Error code: 429 - {'error': {'message': 'You exceeded your current quota, please check your plan and billing details. For more information on this error, read the docs: https://platform.openai.com/docs/guides/error-codes/api-errors.', 'type': 'insufficient_quota', 'param': None, 'code': 'insufficient_quota'}}
Variations
Changing the crust
You can switch up the crust for your Peanut Butter Cup Cheesecake. Try using crushed Oreos for a chocolatey twist. A nut-based crust, made from almonds or pecans, adds a nice crunch. If you want something gluten-free, use crushed gluten-free cookies. Each option gives a unique flavor and texture.
Flavor variations for the filling
Experimenting with different nut butters can add fun flavors. Swap creamy peanut butter for crunchy peanut butter for more texture. Almond butter or cashew butter can create a whole new taste. Mixing in flavored nut butters, like honey or chocolate, gives a unique touch. You can even add a hint of cocoa powder for a richer flavor.
Seasonal additions or toppings
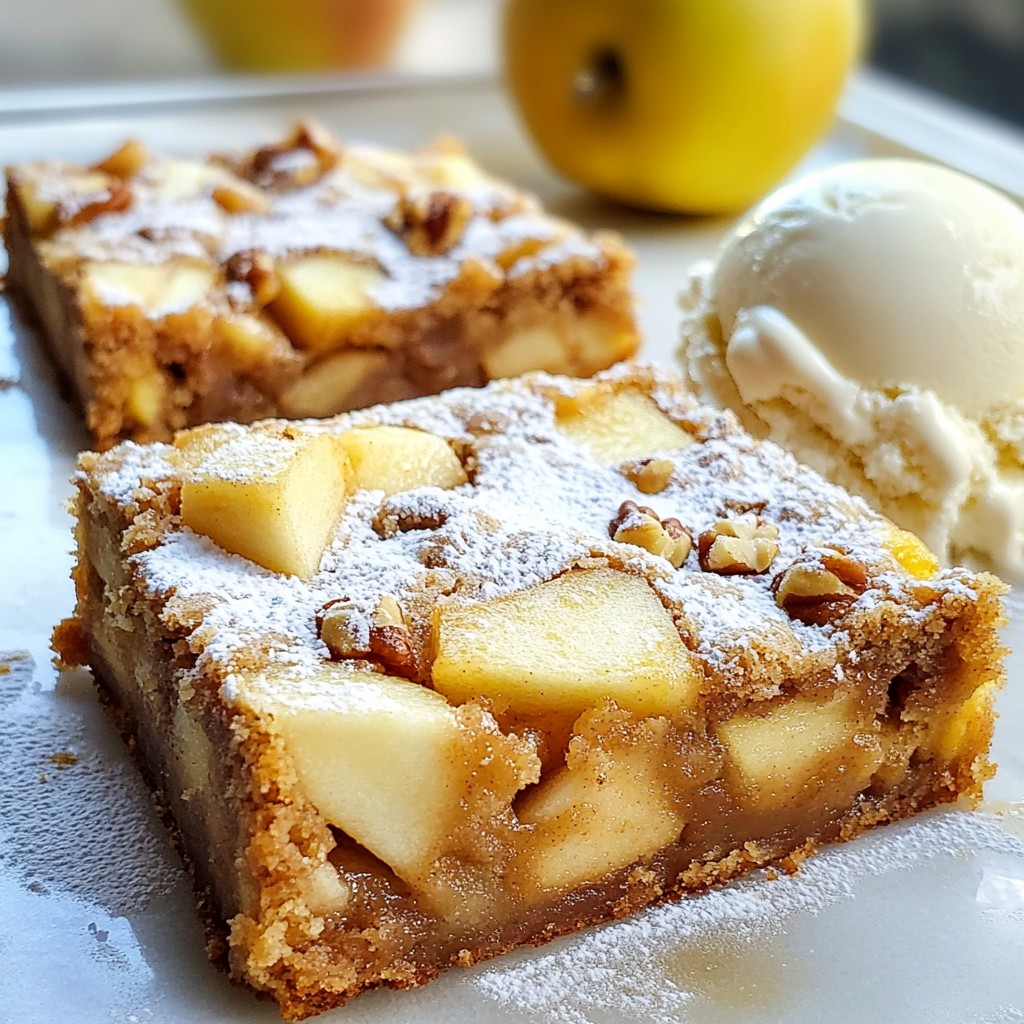
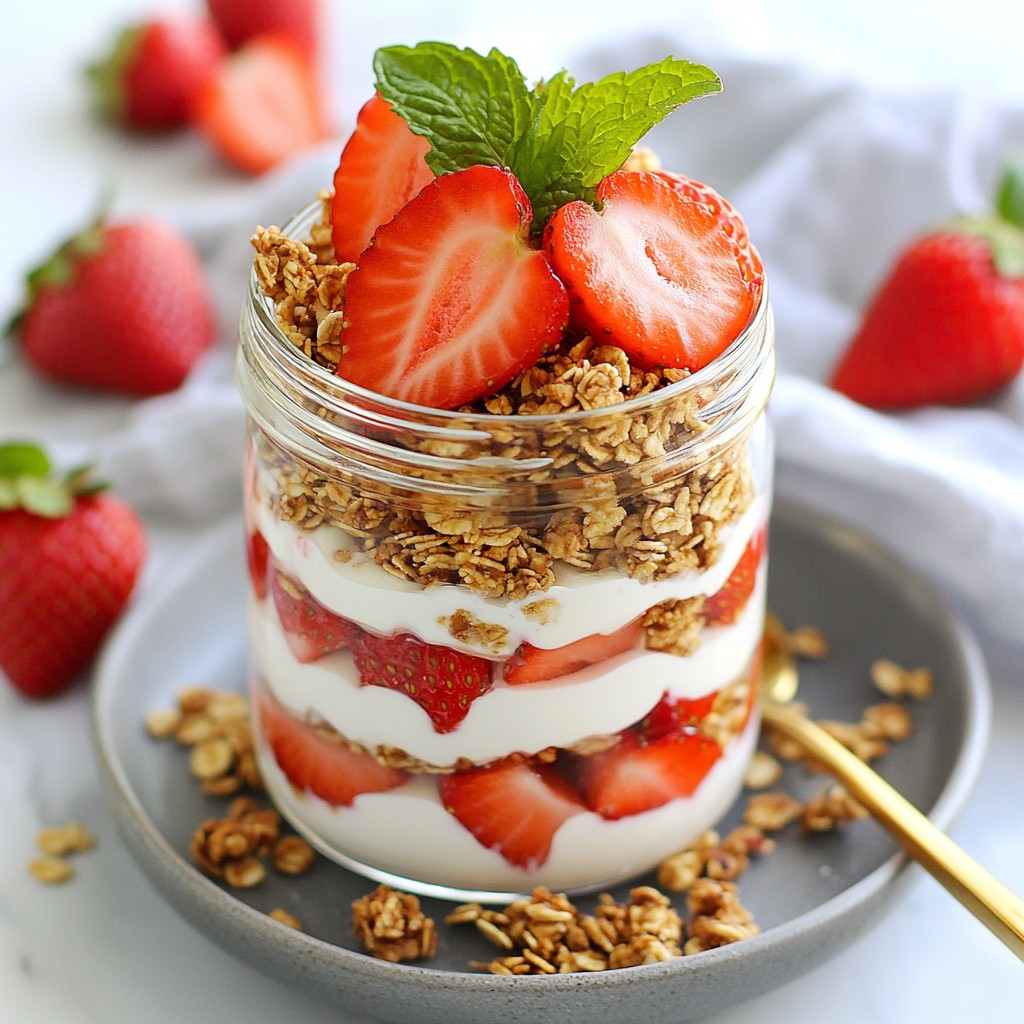
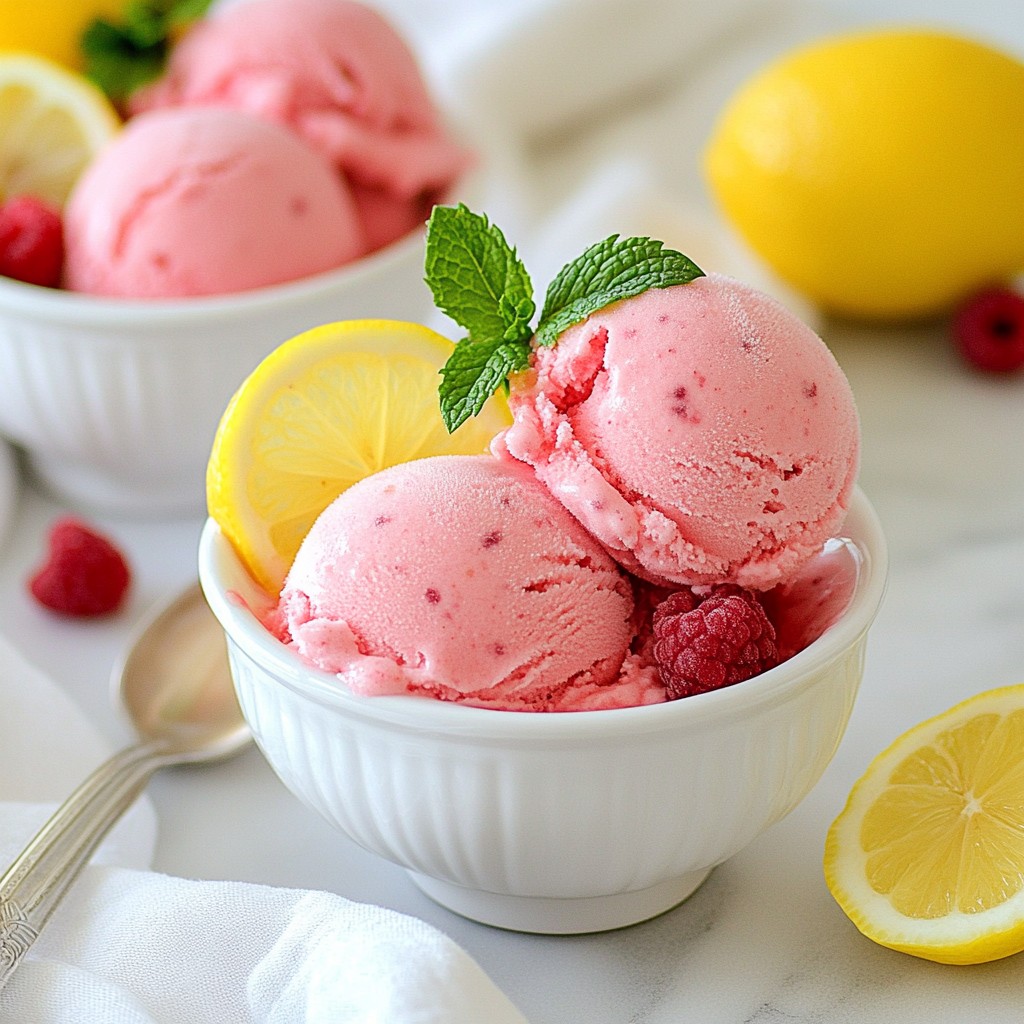
For special occasions, you can dress up your cheesecake. In fall, add pumpkin spice or chopped apples for a harvest theme. During the holidays, sprinkle crushed candy canes or drizzle with caramel. In summer, top with fresh berries or a berry sauce for a refreshing treat. Each season offers fresh ideas to make your cheesecake shine.
Storage Info
How to store leftover cheesecake
After enjoying your peanut butter cup cheesecake, store any leftovers in the fridge. Cover the cheesecake with plastic wrap. This keeps it fresh and prevents it from absorbing other smells in the fridge. A sealed container also works well. The cheesecake can last for about 4 to 5 days.
Freezing tips for cheesecake
If you want to save some cheesecake for later, freezing is a great option. First, slice the cheesecake into pieces. This makes it easier to thaw just what you need. Wrap each slice tightly in plastic wrap. Then, place the wrapped slices in a freezer-safe bag or container. This helps prevent freezer burn. You can freeze the cheesecake for up to 2 months.
Best practices for reheating
When you’re ready to enjoy your frozen cheesecake, take it out and let it thaw in the fridge overnight. This keeps the texture creamy and smooth. Avoid using the microwave, as it can make the cheesecake warm and change its texture. If you prefer it a bit warm, let it sit at room temperature for about 15-20 minutes before serving. Enjoy the rich and creamy delight!
FAQs
Can I make this cheesecake ahead of time?
Yes, you can make this cheesecake ahead of time. It tastes even better after chilling. I suggest preparing it a day before your event. This way, the flavors meld nicely. Just make sure to store it in the fridge until you are ready to serve.
How do I prevent the cheesecake from cracking?
To avoid cracks, mix your ingredients slowly. Don't overbeat the filling. Make sure your cream cheese is soft to mix easily. When baking, avoid sudden temperature changes. If you’re making a no-bake version, chilling it well helps too.
What's the difference between baked and no-bake cheesecake?
Baked cheesecake uses eggs and gets cooked in the oven. This gives it a denser texture. No-bake cheesecake relies on ingredients like whipped cream and gelatin. It is lighter and creamier but needs time to set in the fridge.
Can I use natural peanut butter in this recipe?
You can use natural peanut butter, but it may change the texture. Natural peanut butter is more oily and may make the filling runny. If you prefer it, stir it well before use. Just be aware of the possible texture change.
How long will the cheesecake last in the fridge?
The cheesecake lasts about 5 to 7 days in the fridge. Be sure to cover it tightly with plastic wrap. This keeps it fresh and prevents it from absorbing odors from other foods. Enjoy it as a sweet treat throughout the week!
You now have all the tools to make a great cheesecake. We covered the needed ingredients and their details, plus tasty substitutions. You learned clear steps for the crust and filling to ensure success. Tips helped you avoid common mistakes. We explored fun variations and the best ways to store your dessert.
Embrace your cheesecake journey, and don't be afraid to get creative. Enjoy sharing your tasty treat with friends and family. Happy baking!