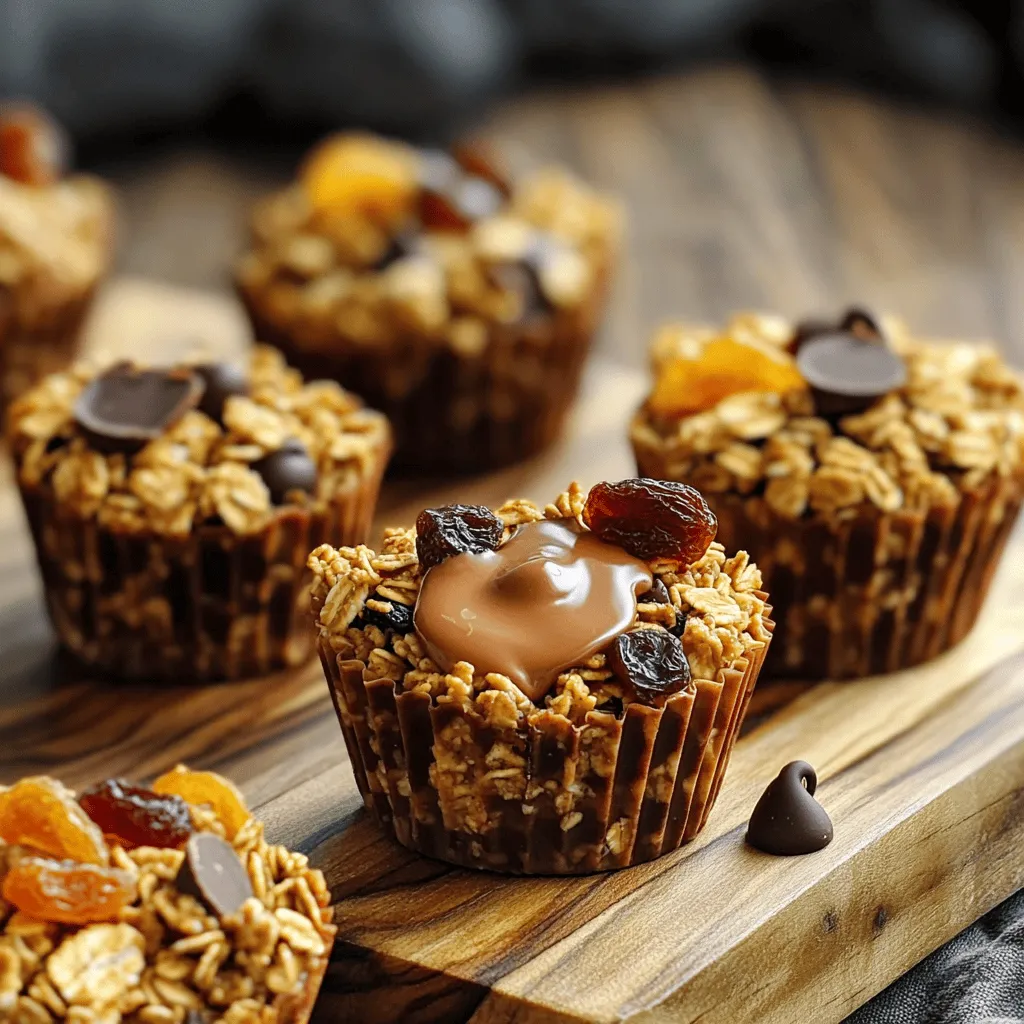
Looking for a tasty and healthy snack? Try these Peanut Butter Granola Cups! They’re easy to make and filled with wholesome ingredients like rolled oats and peanut butter. You can customize them with your favorite add-ins and flavors. Whether you want a post-workout treat or a kid-friendly snack, these granola cups are the perfect choice. Let’s dive in and learn how to make this delightful snack that you’ll love!
Ingredients
Main Ingredients
– 2 cups rolled oats
– 1 cup peanut butter (creamy or crunchy)
– 1/3 cup honey or maple syrup
– 1/4 cup brown sugar or coconut sugar
The main ingredients are simple but powerful. Rolled oats give these cups their base. They add fiber, making you feel full. Peanut butter brings protein and healthy fats. You can pick creamy or crunchy. Sweeteners like honey or maple syrup add just the right touch of sweetness. Brown sugar or coconut sugar can add depth.
Flavor Enhancers
– 1/2 teaspoon vanilla extract
– 1/2 teaspoon cinnamon
– 1/4 teaspoon salt
Flavor enhancers take your cups to the next level. Vanilla extract makes everything taste better. Cinnamon adds warmth and a cozy feel. A touch of salt brightens the flavors, making them pop.
Optional Add-ins
– 1/2 cup chocolate chips (optional)
– 1/2 cup dried fruits (raisins, cranberries, or your choice)
Optional add-ins give you room to play. Chocolate chips are a fun surprise in every bite. Dried fruits like raisins or cranberries add sweetness and chewiness. You can mix and match to find your favorite combo.
Step-by-Step Instructions
Prepping Your Oven and Muffin Tin
– Preheat oven to 350°F (175°C).
– Prepare muffin tin with liners or grease it well.
Mixing Dry Ingredients
– Combine 2 cups of rolled oats, 1/4 cup of brown sugar, 1/2 teaspoon of cinnamon, and 1/4 teaspoon of salt in a bowl. Stir until mixed evenly.
Creating the Peanut Butter Mixture
– In another bowl, mix 1 cup of peanut butter, 1/3 cup of honey, and 1/2 teaspoon of vanilla.
– Heat this mixture for about 20 seconds in the microwave to help with blending.
Combining the Mixtures
– Pour the warm peanut butter mixture into the bowl with dry ingredients. Mix well until everything is coated.
– If you want, fold in 1/2 cup of chocolate chips and 1/2 cup of dried fruits for added flavor.
Filling the Muffin Tin
– Scoop the granola mix into the muffin tin, filling each liner about 3/4 full.
– Press the mixture down firmly with a spoon or your fingers to pack it in.
Baking and Cooling
– Bake for 15-20 minutes until the edges turn golden brown.
– Let the cups cool in the pan for about 10 minutes. Then, move them to a wire rack to cool completely. They will firm up as they cool.
Tips & Tricks
Perfecting Texture
To keep your granola cups chewy, use less baking time. Bake them until just golden. If you prefer a crunchier texture, bake a bit longer until the edges brown nicely. Pressing down the mixture firmly is key. Use the back of a spoon or your fingers. This packs the ingredients tightly and helps them hold shape after baking.
Flavor Customization
Swapping out the peanut butter can change the flavor. Try almond butter or cashew butter for a new twist. You can also mix in different nuts or seeds. For a fun touch, add coconut flakes or chia seeds. Consider topping your cups with yogurt or fresh fruit for extra flavor.
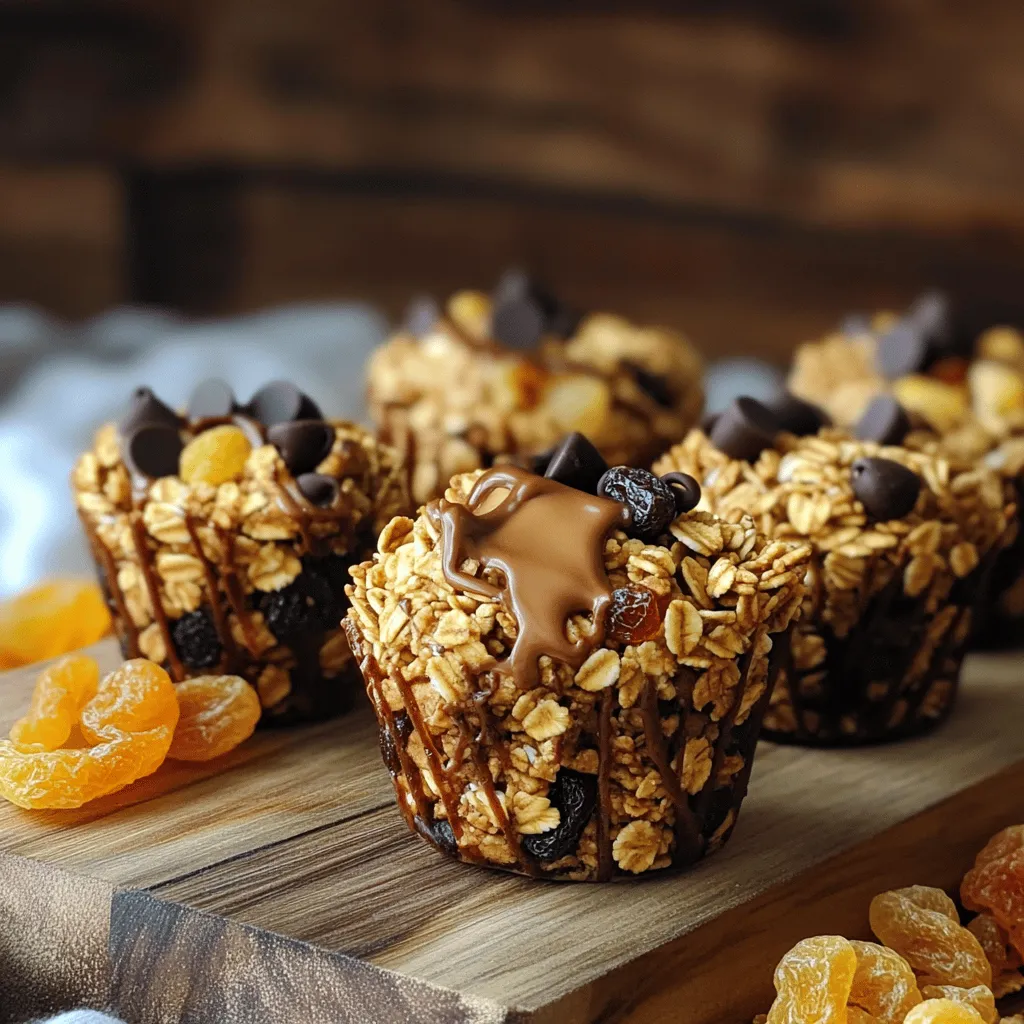
Serving Ideas
For a lovely presentation, drizzle melted chocolate on top after they cool. Serve them on a bright plate or wooden board. They pair well with milk or a hot cup of tea. For a snack, enjoy them with a side of fresh fruit or yogurt. This adds color and flavor to your snack time!
Variations
Nut-Free Alternatives
If you need a nut-free option, you can use sunflower seed butter. It has a mild taste and works well in this recipe. You can also substitute almond butter if you don’t have nut allergies. Just keep in mind that almond butter has a stronger flavor. Both options keep the texture and taste creamy.
Vegan Options
To make these granola cups vegan, swap honey for maple syrup. Maple syrup provides the same sweetness without animal products. Also, choose nut-free options like sunflower seed butter. This way, everyone can enjoy these tasty treats. They’ll still be full of flavor and nutrients.
Gluten-Free Adaptations
For a gluten-free version, select certified gluten-free oats. Regular oats may contain gluten due to cross-contamination. Confirm that your oats are labeled gluten-free to ensure safety. This small change makes them perfect for those with gluten sensitivities. Enjoy them without worry!
Storage Information
Best Storage Practices
To keep your Peanut Butter Granola Cups fresh, store them in airtight containers. This helps prevent them from drying out. I recommend using glass or plastic containers with tight lids. You can also wrap each cup in plastic wrap before placing them in the container. This is great for keeping them soft and tasty.
Freezing Instructions
If you want to keep these granola cups for a longer time, freezing is a great option. First, let them cool completely. Then, wrap each cup in plastic wrap. After that, place them in a freezer-safe bag or container. Make sure to label the bag with the date. You can freeze them for up to three months without losing flavor.
Shelf Life
Peanut Butter Granola Cups last about a week at room temperature. Make sure they stay in a cool, dry spot. If you store them in the fridge, they can last up to two weeks. Keeping them in the fridge helps them stay fresh and firm.
FAQs
Can I use other nut butter in this recipe?
Yes, you can use other nut butters. Almond butter works great in this recipe. It has a light flavor and creamy texture. Cashew butter is also a tasty choice. It adds a nice sweetness and creaminess too. Just ensure the nut butter you pick is smooth and creamy for the best results.
How do I make these granola cups gluten-free?
To make these granola cups gluten-free, choose certified gluten-free oats. Regular oats may have gluten. Be careful with any mix-ins as well. Some dried fruits or chocolate might contain gluten. Always check labels to ensure they are gluten-free.
Can I replace the sweeteners?
Yes, you can replace the sweeteners. Agave syrup is a good option. It has a mild flavor and works well in this recipe. You can also use stevia for a low-calorie choice. Just remember that stevia is much sweeter than sugar, so use less. Adjust to your taste while mixing.
What can I add to make these more nutritious?
You can add seeds like chia or flax for extra fiber. Protein powder is another great option to boost nutrition. Superfoods like chia seeds or hemp seeds are also great additions. They add healthy fats and protein without changing the taste much. Mix and match these to your liking for added health benefits.
These Peanut Butter Granola Cups are easy to make and fun to customize. We explored the main ingredients, from oats to sweeteners. I shared simple steps for mixing, baking, and perfecting texture. You can adapt flavors with various nut butters and add-ins. Remember to store your cups properly to enjoy them longer. Try these tips, and you’ll create tasty snacks that suit your needs. Have fun in the kitchen and enjoy your homemade treats!