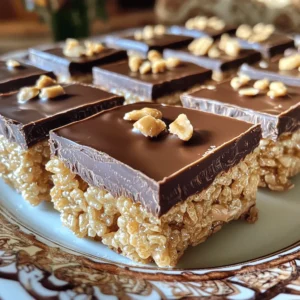
No-Bake Chocolate Peanut Butter Rice Krispie Bars
Indulge your sweet tooth with these No-Bake Chocolate Peanut Butter Rice Krispie Bars! Made with simple ingredients like Rice Krispies, creamy peanut butter, and rich chocolate, this easy recipe takes only 15 minutes of prep time. Perfect for a quick treat or dessert, your family will love the crunchy and gooey combination. Click through to explore the full recipe and learn how to make these delicious bars today!