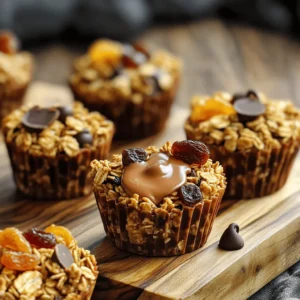
Peanut Butter Granola Cups
Indulge in the deliciousness of Peanut Butter Granola Cups with this simple recipe! With wholesome ingredients like oats, peanut butter, and honey, these cups are perfect for a tasty snack or a grab-and-go breakfast. Follow easy steps to create a delightful treat your family will love. Click to explore this nutritious recipe and enjoy the perfect balance of sweet and salty goodness today!